
This is the latest room to be updated, although it had been renovated when the others were (Re wired, skimmed, painted and new carpet) It was never really complete with the decoration. I decorated it sort of as a quick fix with a new big bed, as he was just coming out of the cot bed, but until he was big enough for the bed I’d always imagined in this space, I wanted to leave the room as a blank canvas.
Because he has the box room which is the smallest room, I had to plan the design carefully to try and maximise on floor space whilst also making sure there was plenty of storage.
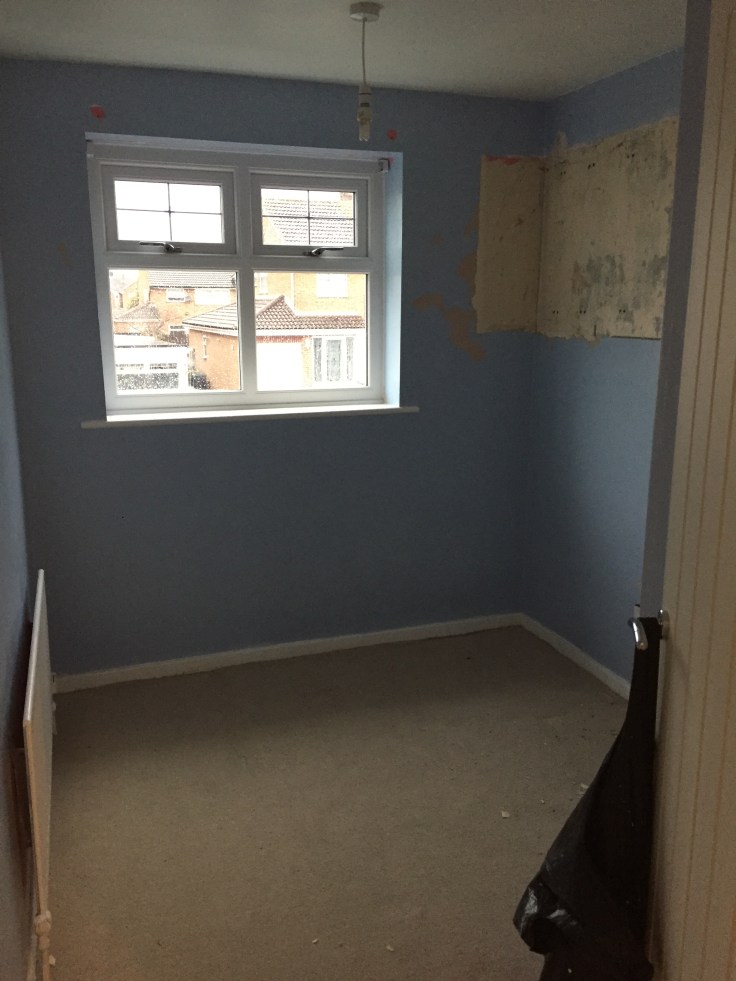
This is the original room when we first moved in. It was painted blue (which was lucky) and had a large storage cupboard across the right wall.

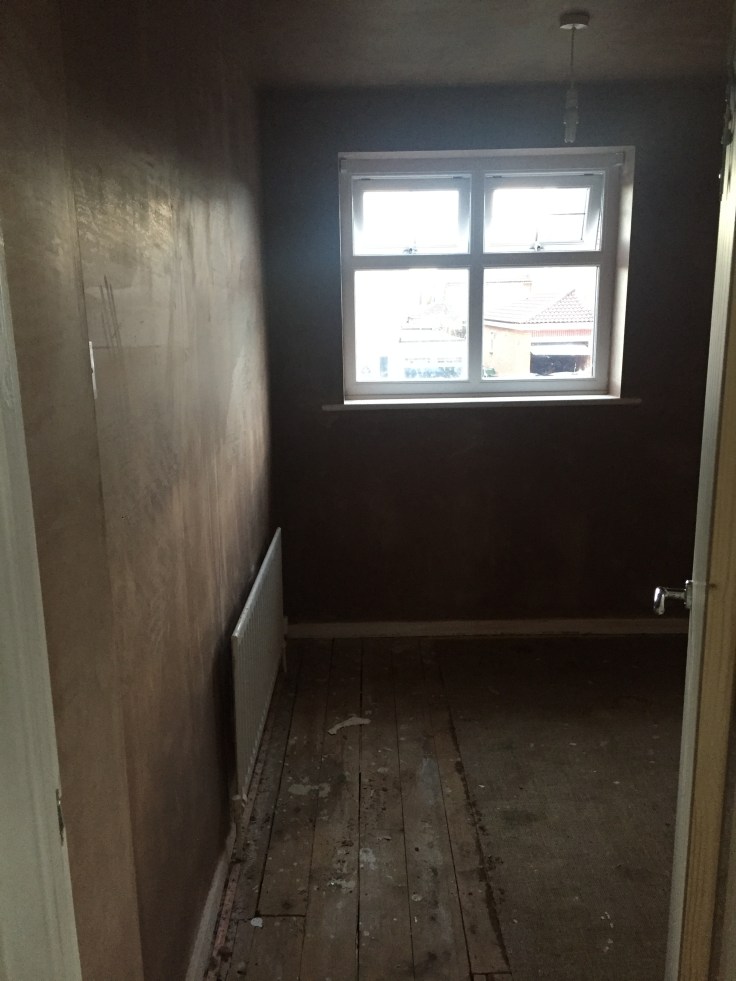
First job was to get rid of that old cupboard which was making the room seem a lot smaller than it was.

Obviously after this and with the holes from the re wire the room needed skimming.
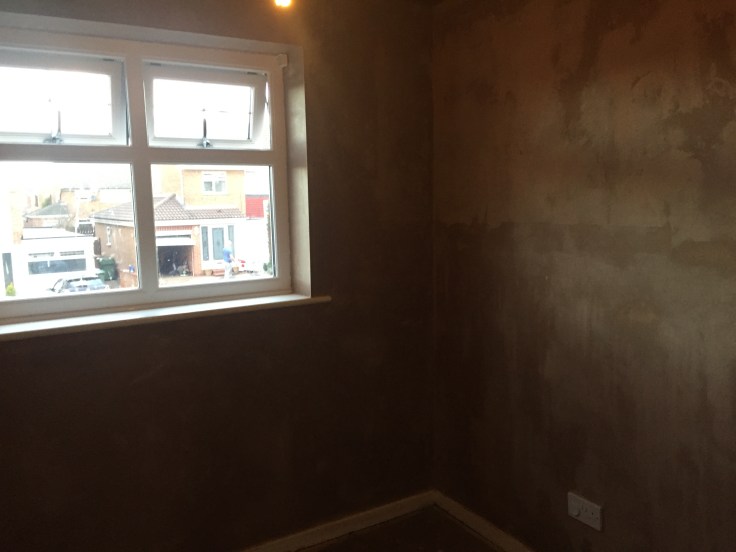
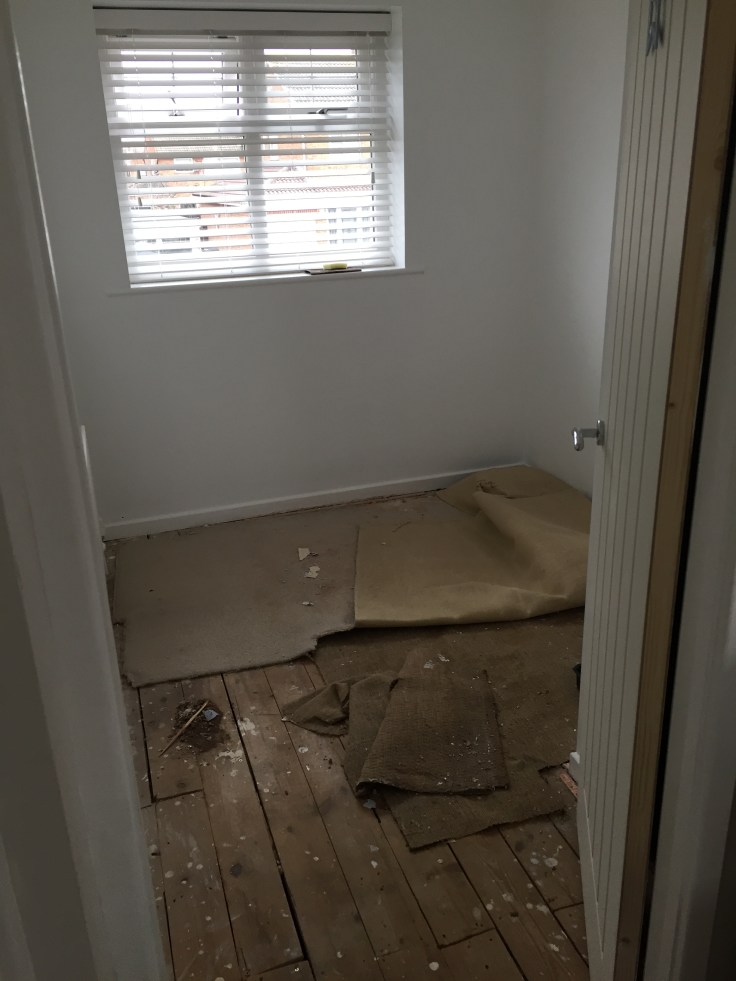
Once the plaster was dry we painted and it was ready for the new carpet.
So this is the bed I went with, it has some storage but as he was only little at the time we still couldn’t get the mid sleeper that I really wanted for in here. We purchased some Batman wall stickers to add something to the blank wall but didn’t want to do too much right now.

For him and for now, this was perfect.
A year or two on (I can’t actually remember how long it was now) But once he had turned 5, we felt he was finally old enough to manage a mid sleeper bed. That’s the perfect height, there’s only 2 little steps on the ladder to manage but it would free up so much more space on the floor if we turned it the other way and offer more storage. At the minute there was a chest of drawers round to the right which you cant see which was taking up valuable space.
After going through designs I really wanted to stick with the monochrome theme with hints of grey but really finish it off this time. 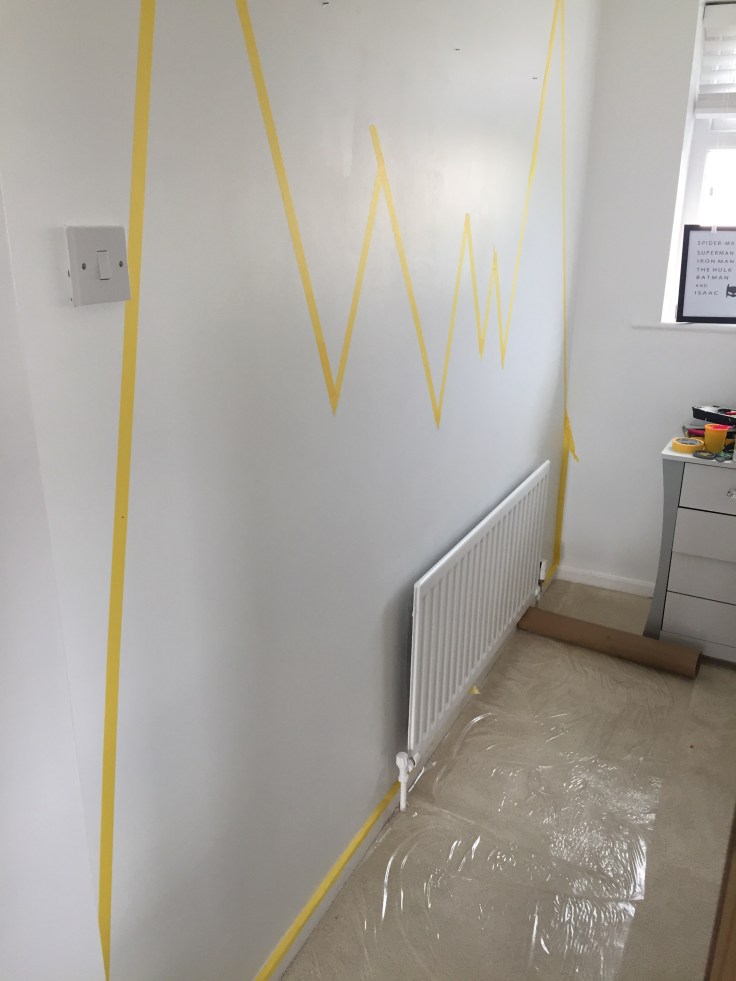
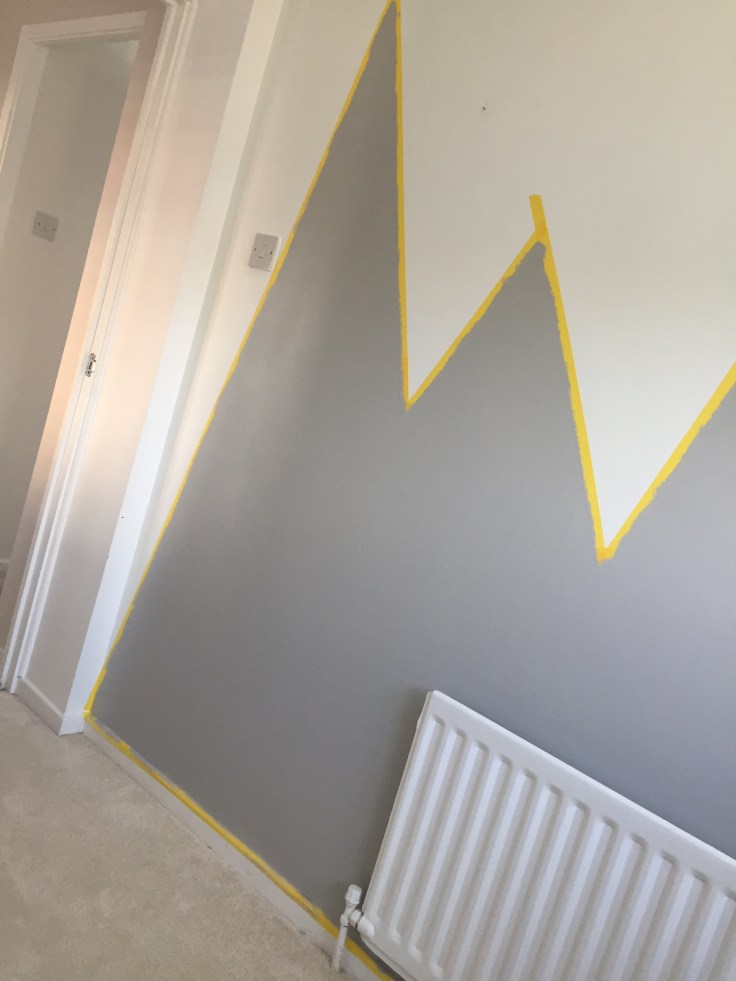
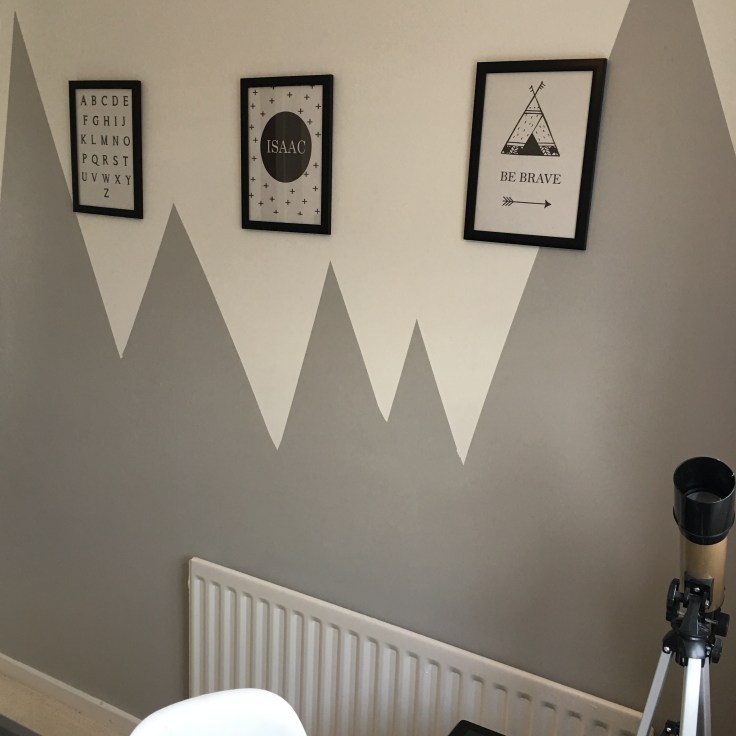
On the left wall I decided to add some grey and attempt to paint my own ‘mountains’
It’s actually so much easier than I imagined. Line out the shape with frog tape. Paint the section then peel away the tape…. So easy and so effective.

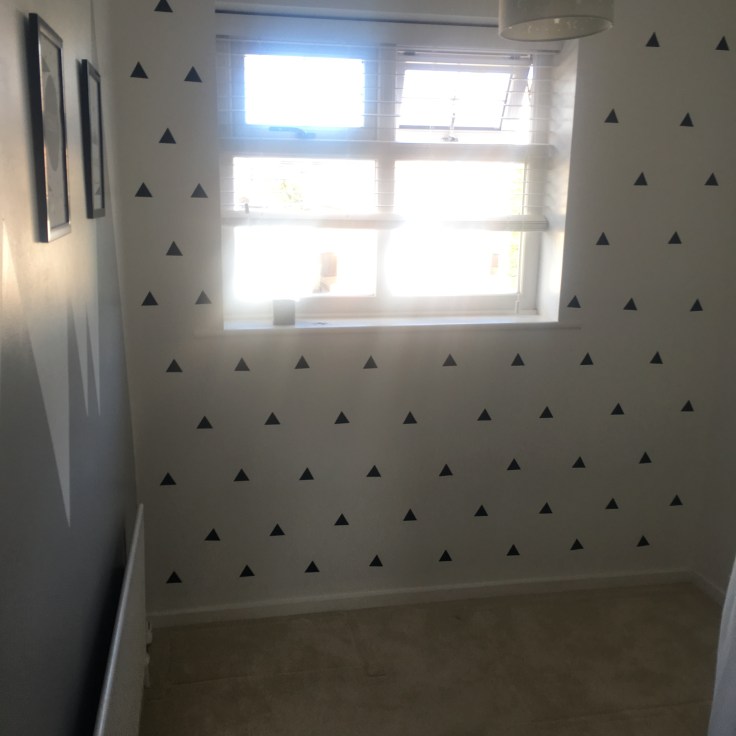
I added some black frames with prints over the mountains and for the back wall I bought some triangle stickers from Ebay. LINK HERE – These are so tricky to put on level but so many people have thought this was wallpaper so I’ll take that as a compliment . They just peel off easy and don’t take the paint away if you change your mind or when you come to redecorate.
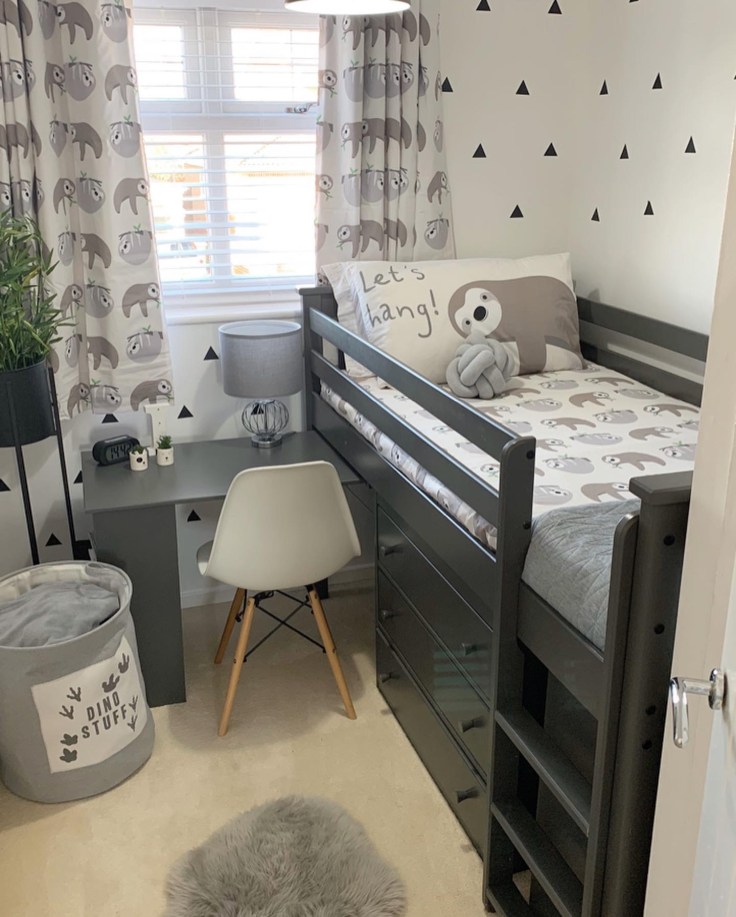
This was the mid sleeper we went for. I was so thrilled when I found this one, the colour was perfect, loved the design and I think its a really good price. Took 2 people to build and came in a million pieces but so worth it. LINK HERE for the bed.
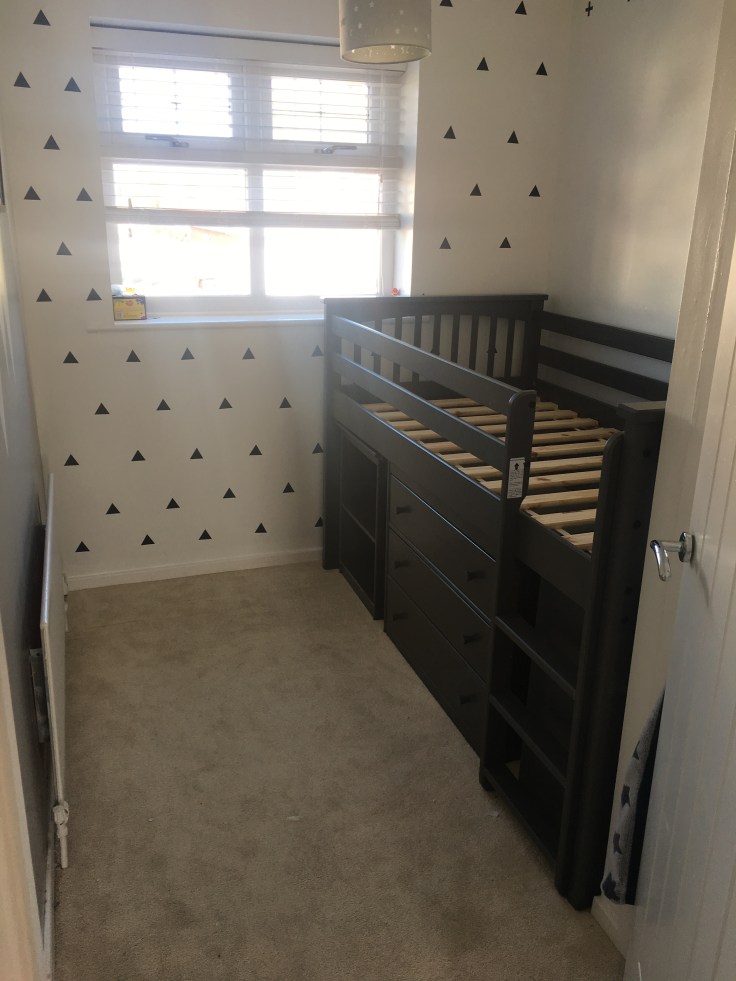
It has a desk that pulls out and because of the design there is a space behind where the drawers are so I decided to make it into a little den for him, I added some battery fairy lights under the mattress and some pillows and its complete. Also because the space is small we couldn’t have the book case facing outwards, so we just turned it around and he accesses it from the den.

Behind the door is a built in cupboard, I added a wardrobe rail in there so he has space to hang clothes and the rest doubles up as storage for all his toys, which leaves the rest of the floor free for playing.

I also painted one large mountain on this side of his wall. I had this brainwave one day to turn the cupboard door into a chalkboard for him, and I was so thrilled with the outcome. Its so easy to do. You can purchase chalkboard paint from most shops, I got mine in The Range, and you literally just paint it on like normal paint. It takes about 5 coats but once finished its such a good feature. 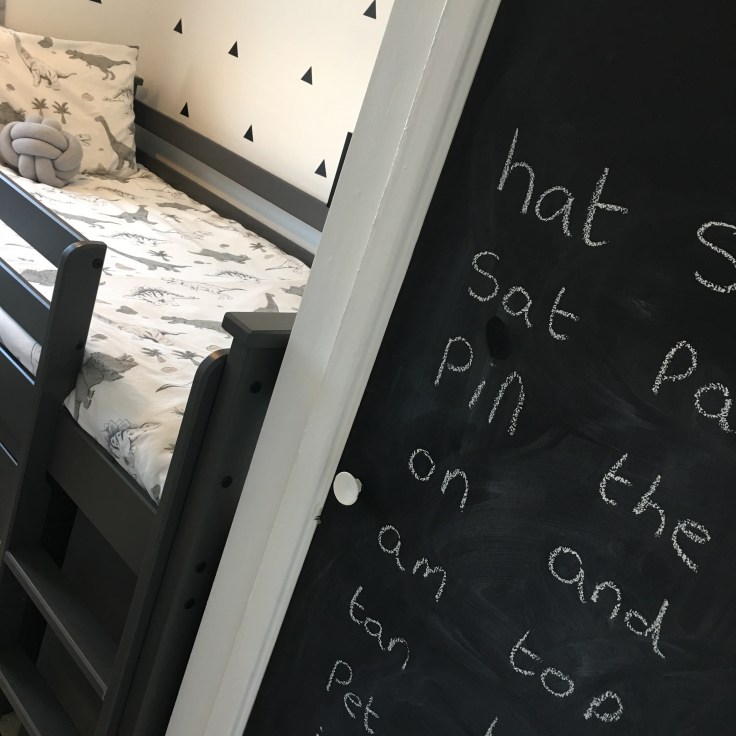
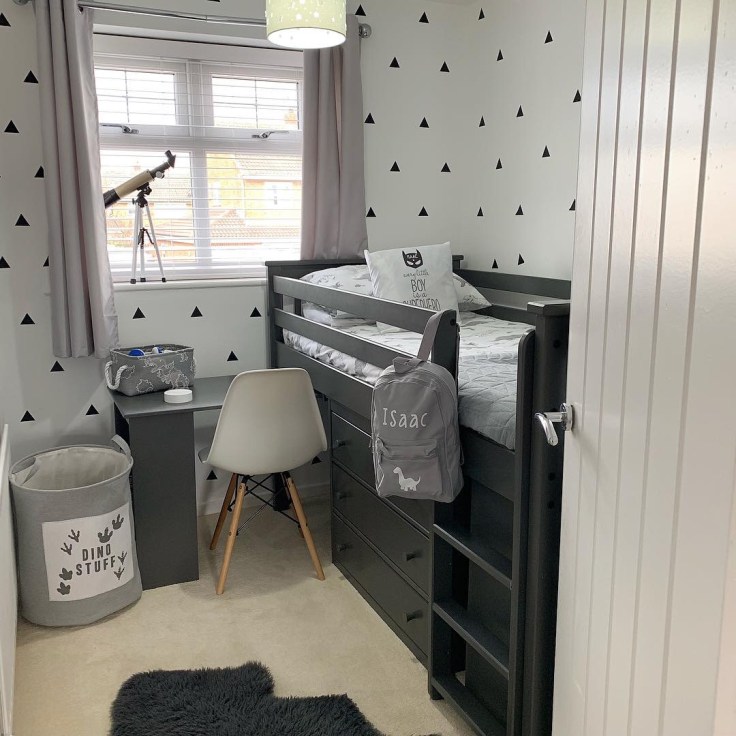
So here is the finished room now. I’ve added links wherever I can for items or just noted where they were purchased from.
Let me know what you think
Danielle x
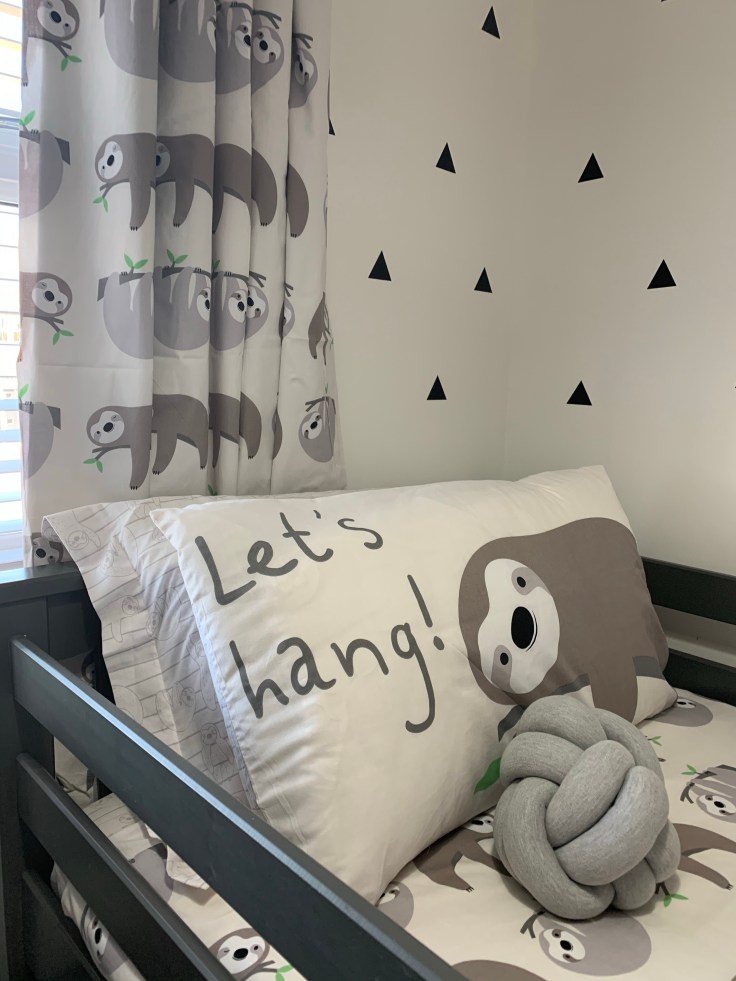
It’s since had a little update and here are the most recent pictures. All linked below

Bed – LINK HERE
Sloth Bedding – LINK HERE
Sloth Curtains – LINK HERE
Sloth Sheet – LINK HERE
Light Shade – LINK HERE
Grey sheepskin rug – LINK HERE
Chair – LINK HERE
Dinosaur Bedding – Asda (Smilar bedding LINK HERE)
Wall Stickers – LINK HERE
Dinosaur Light – LINK HERE
Shelves – LINK HERE
Superhero Pillow – LINK HERE
Grey bed runner – Dunelm
Curtains & Pole – B&M
Backpack – KhushiDesigns (Instagram)
Prints – Made myself
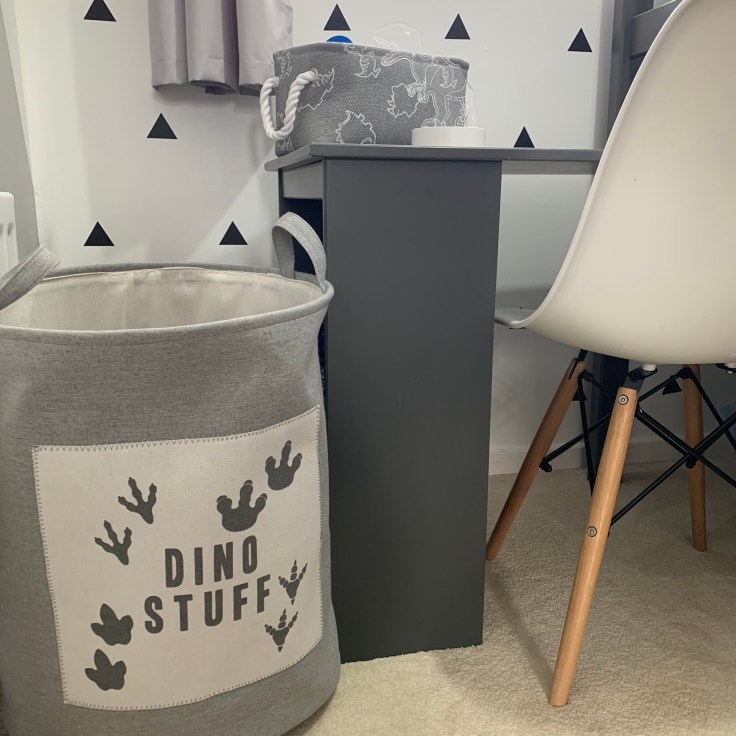
Dino Basket big & small – TK Maxx
**Some Affiliate links used**

Please tell the size of the room , because I want my room to be like that. Plz tell room size information. 🙏🙏🙏🙏🙏🙏😇😇. Best small room I have ever seen.
LikeLike
What a gorgeous room for your little man 😍. Well done you 🥰✨🤗
LikeLike