This was our very first project that we took on. We’d both always discussed wanting to renovate a really old house and hopefully sell it on, so one day we decided to take the plunge and go for it! You’ll never know unless you try and we were so happy with the progress we made and the timescale. It’s so lovely to know that this beautiful new home now has some wonderful new owners.
————-
HERE IT IS …….
Project no.1 – 2 bedroom bungalow
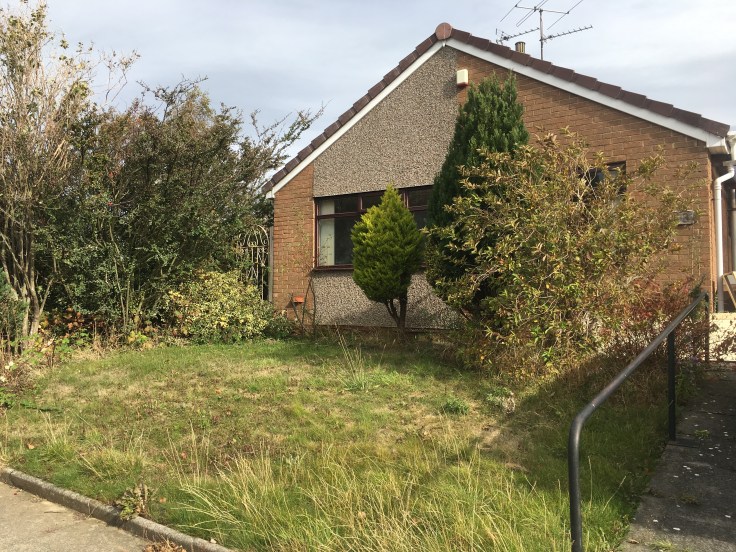

Taking a look only on the outside it was clear how dated it was. The plan was to re turf the lawn, trim and cut back all the overgrown trees , remove the car port, metal rail & ramp, replace all windows and doors, replace the facias & guttering and render the front and side of the property.
INSIDE THE PROPERTY.
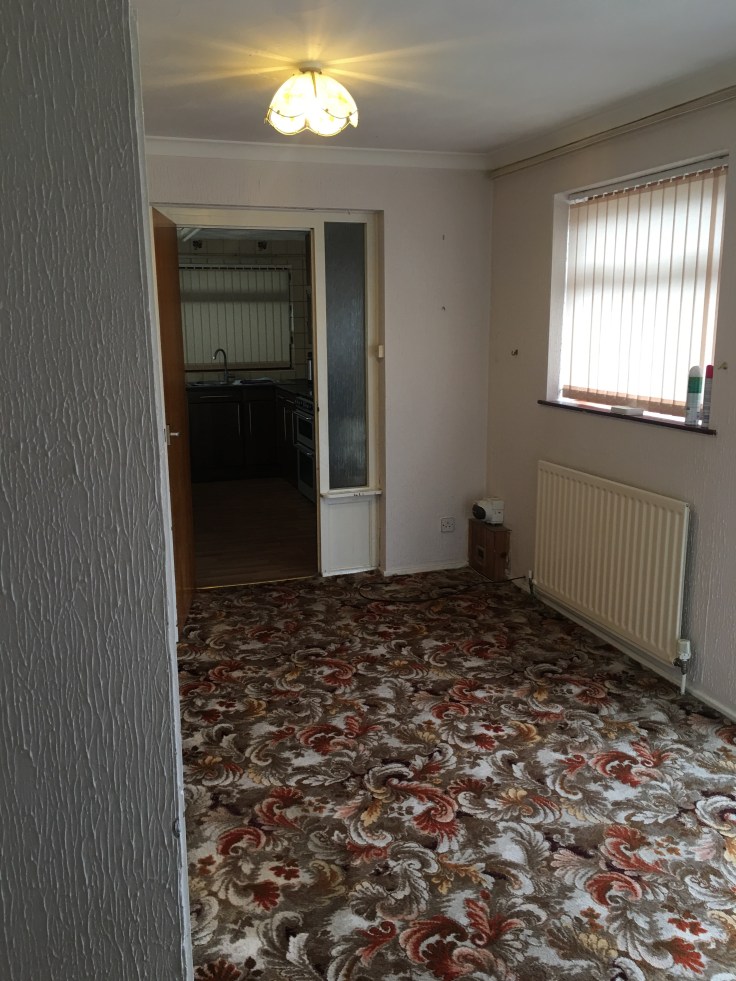
Hallway:
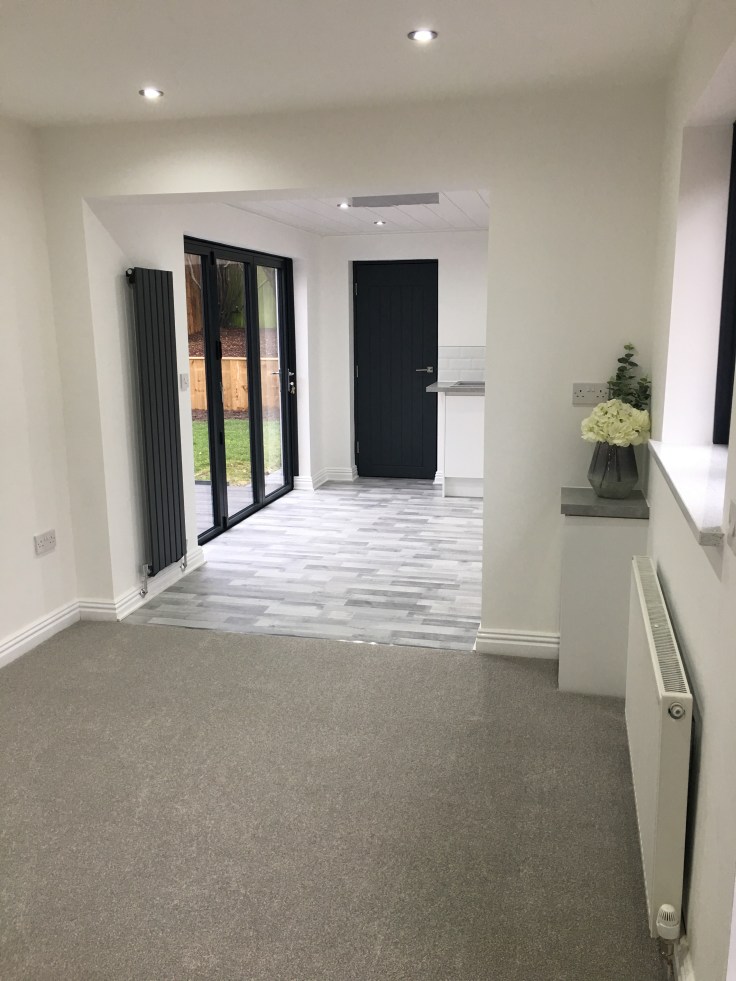
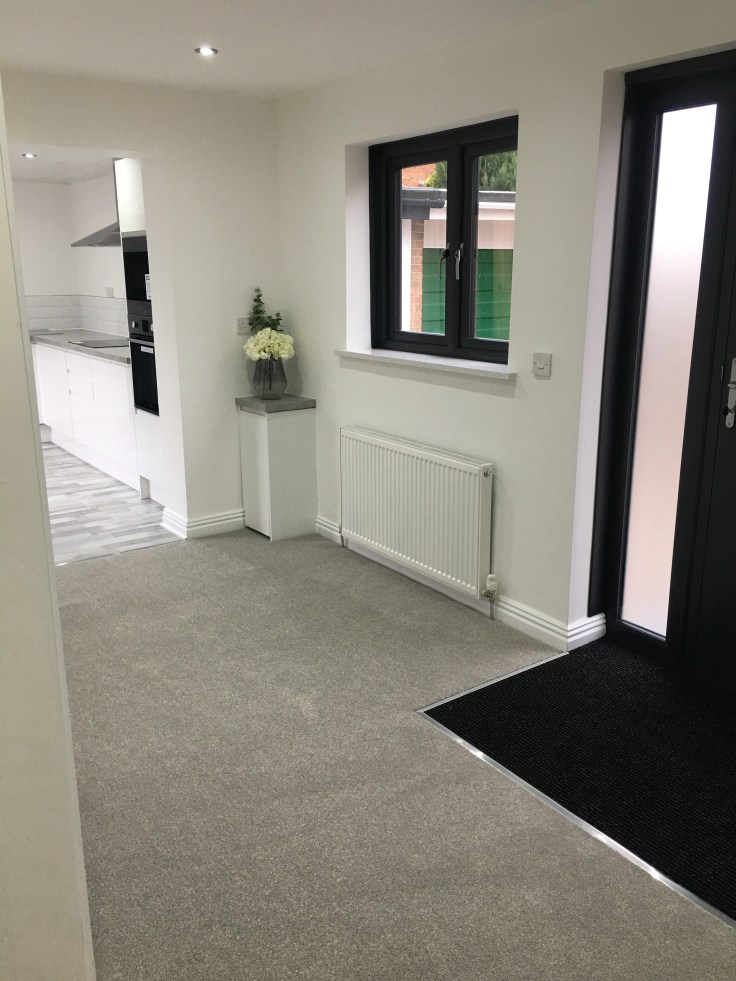
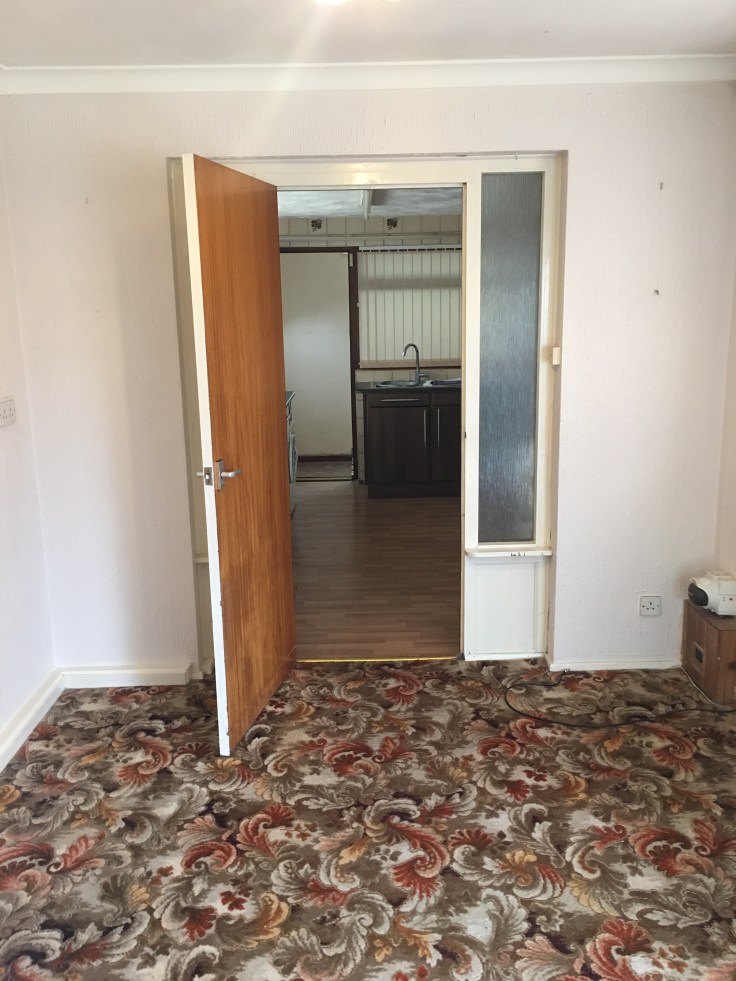
As you walk through the front door there is a large hallway, really large actually and seemed quite a lot of unused space. The kitchen was separated by a wall and a door so didn’t really feel part of this room. I knew straight away that this needed to be opened right up and made to feel part of the kitchen area. 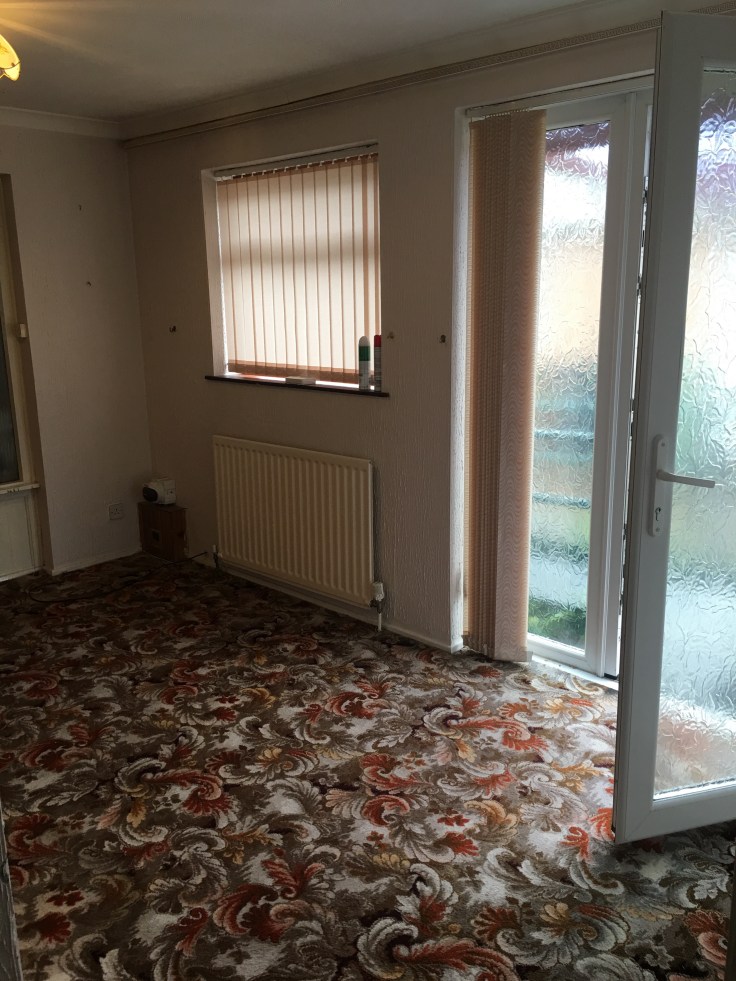
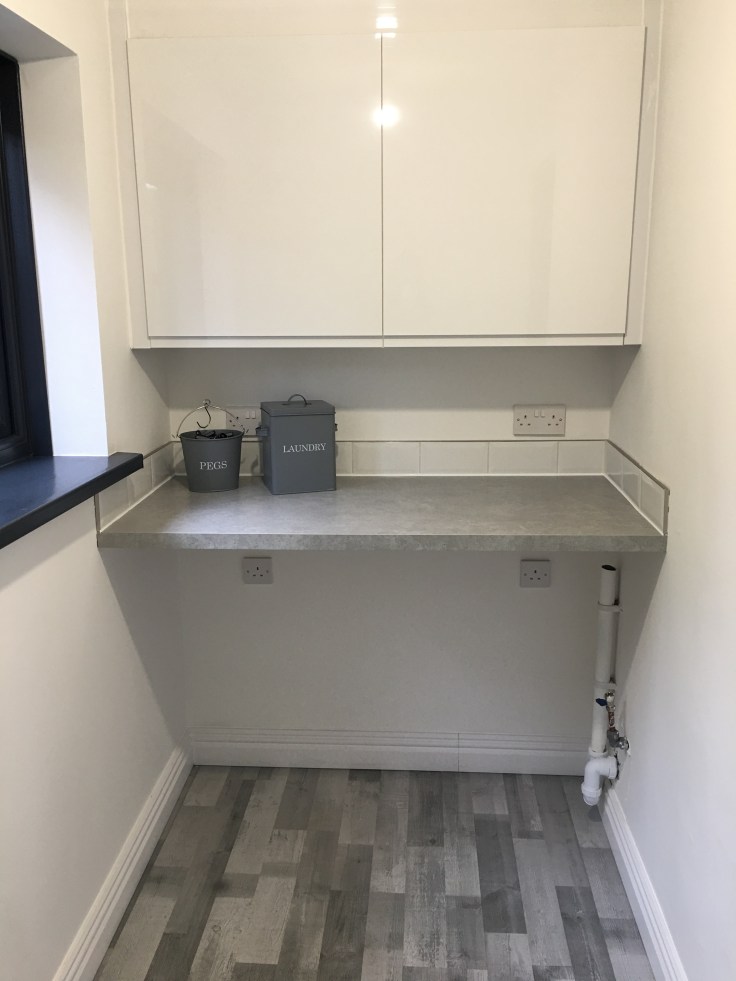
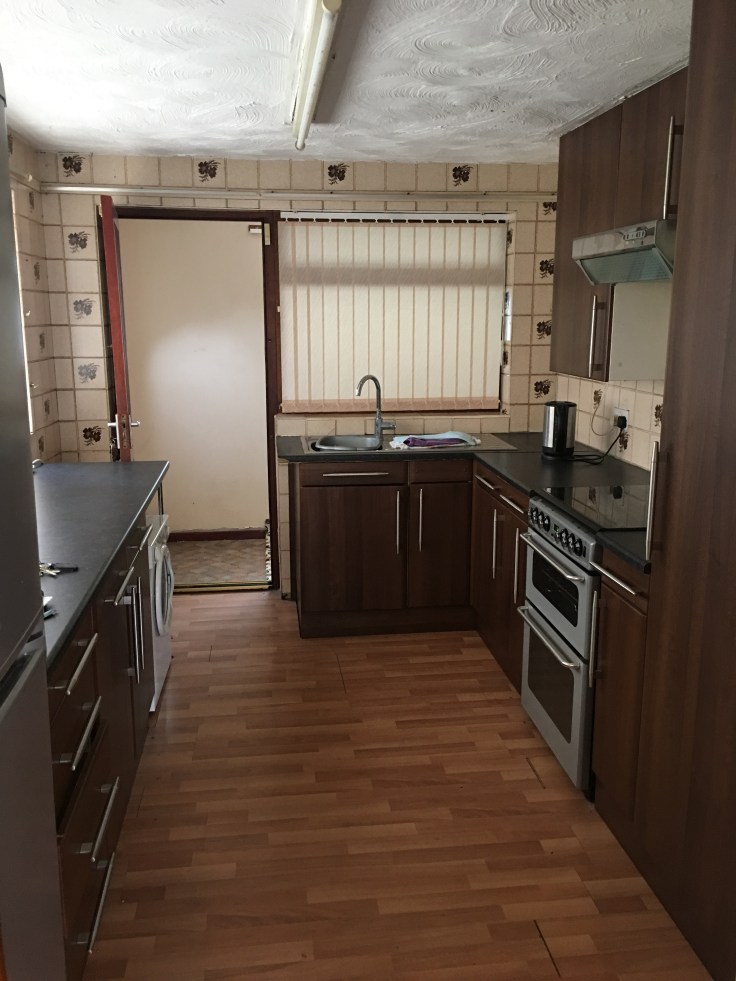
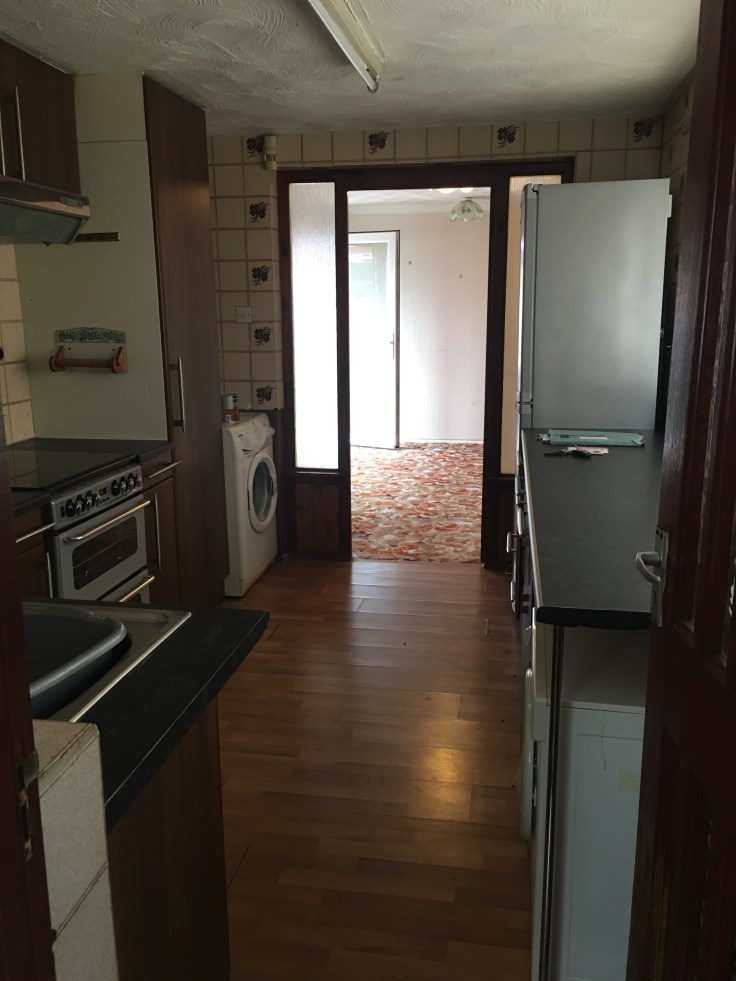
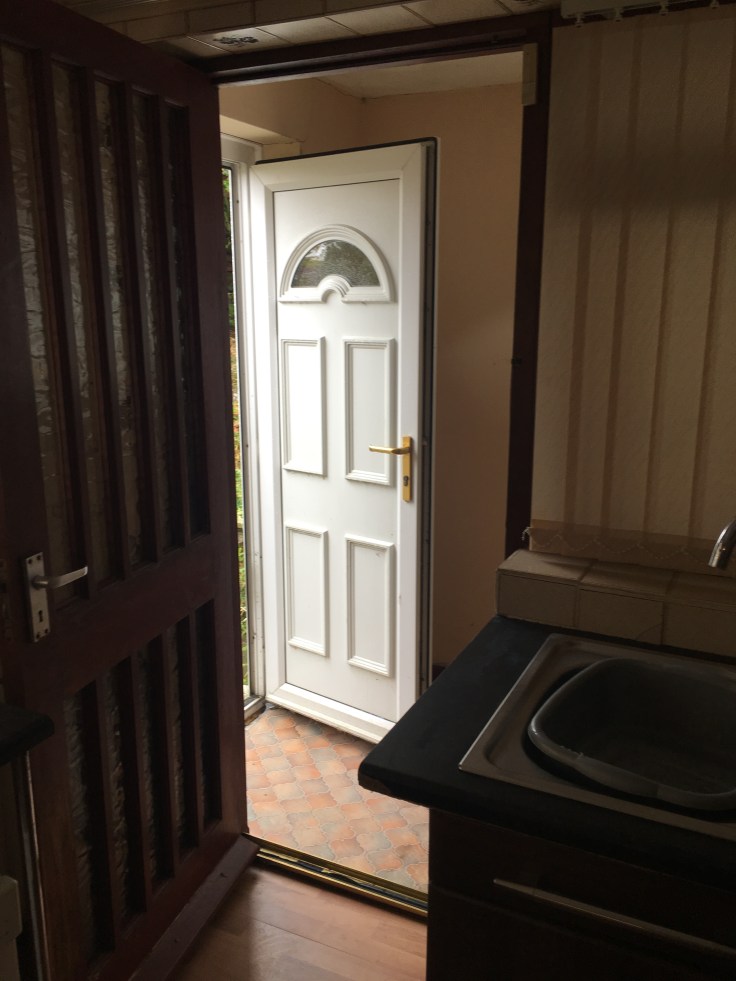
Kitchen:
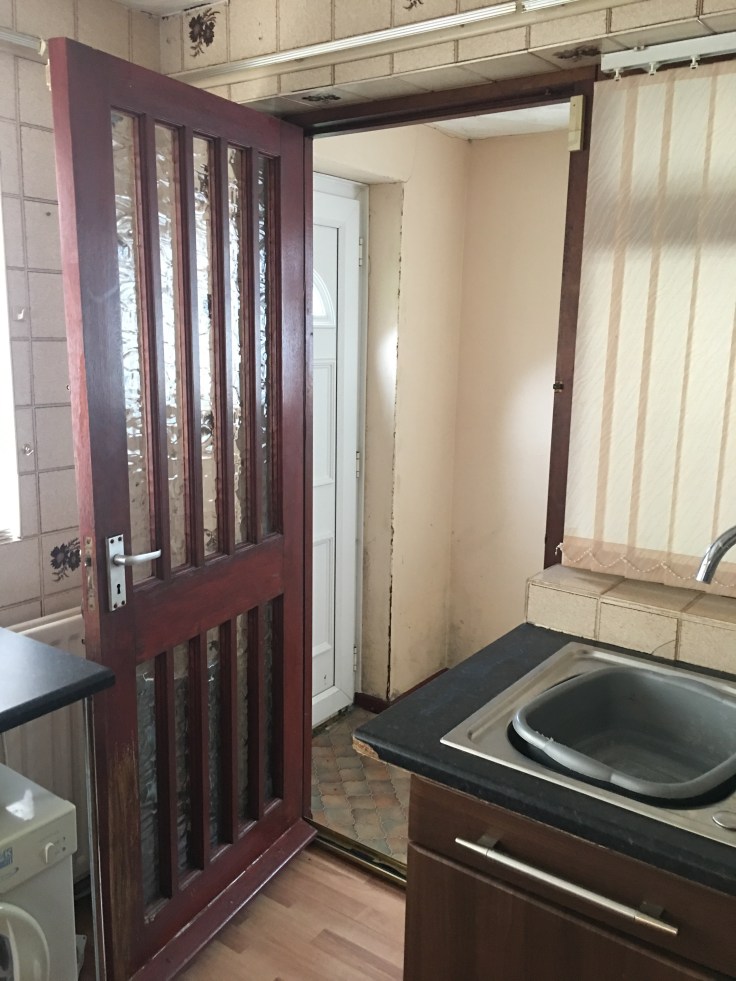
You could argue that parts of the kitchen were salvageable, if you really wanted to save money you could paint the cupboards and the worktops weren’t terrible, but I really wanted to give it the wow factor so I had plans for a full new kitchen and even bigger plans for the left side of the kitchen. At the back of the kitchen was another door which led into a dingy little room with a lonely little unit. There was also a door here leading out into the back garden. This room was crying out to be made into a laundry room so it could house the washing machine and also have space for a tumble dryer. The little window with blinds looking through into that room was going to have to go too.


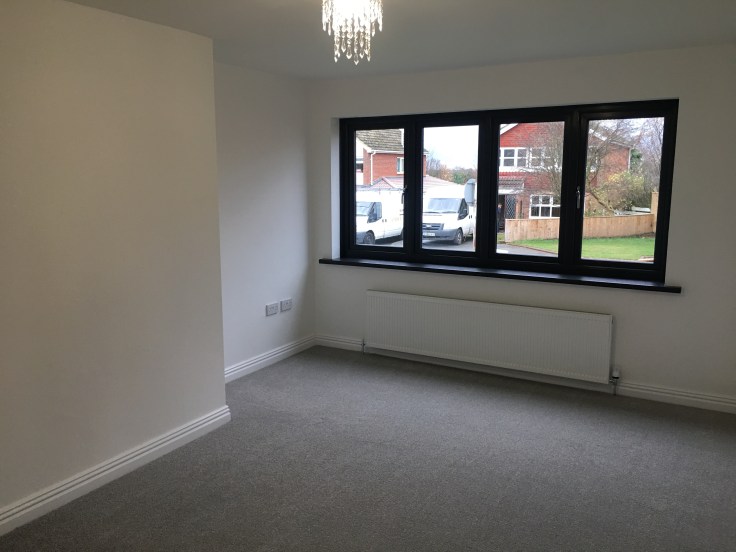
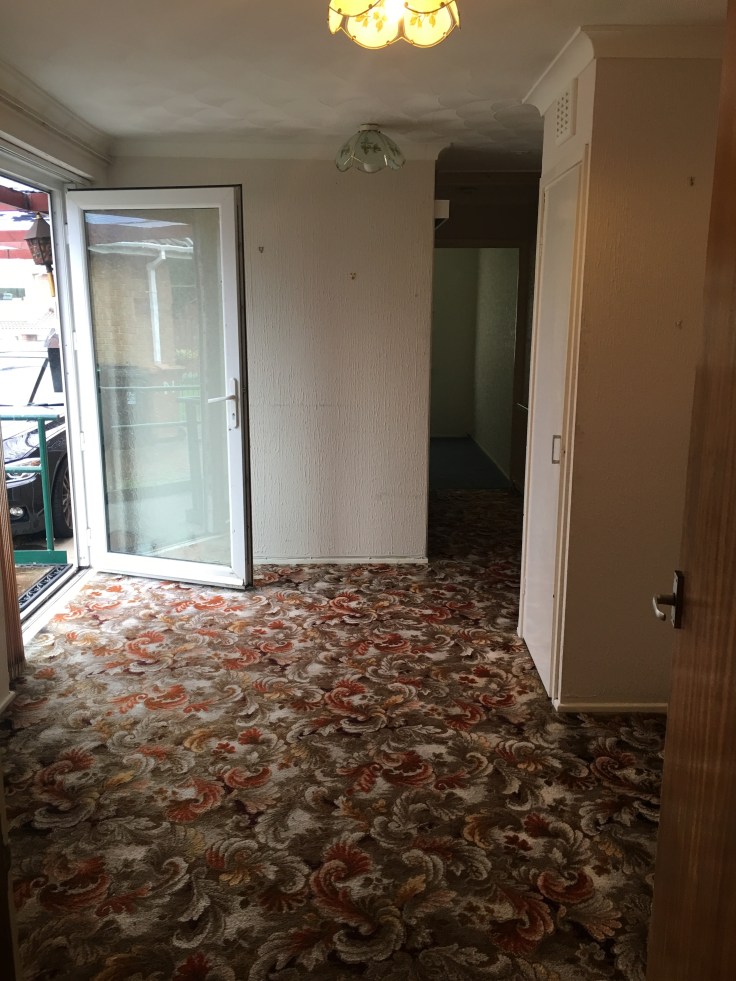
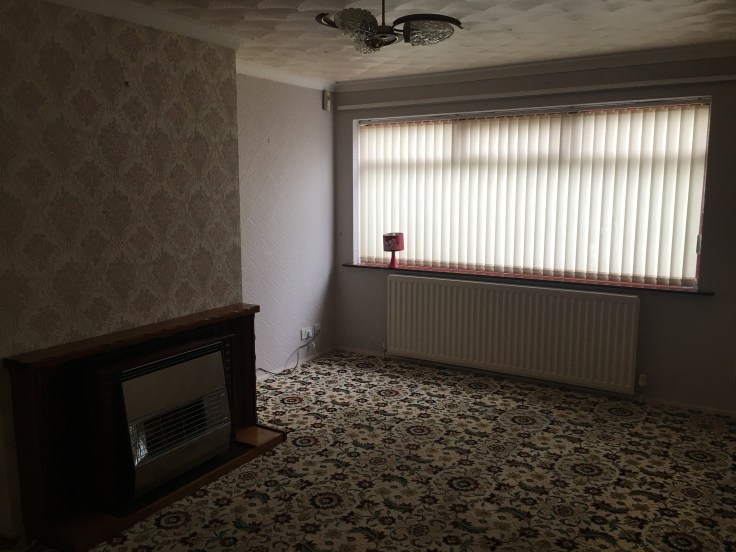
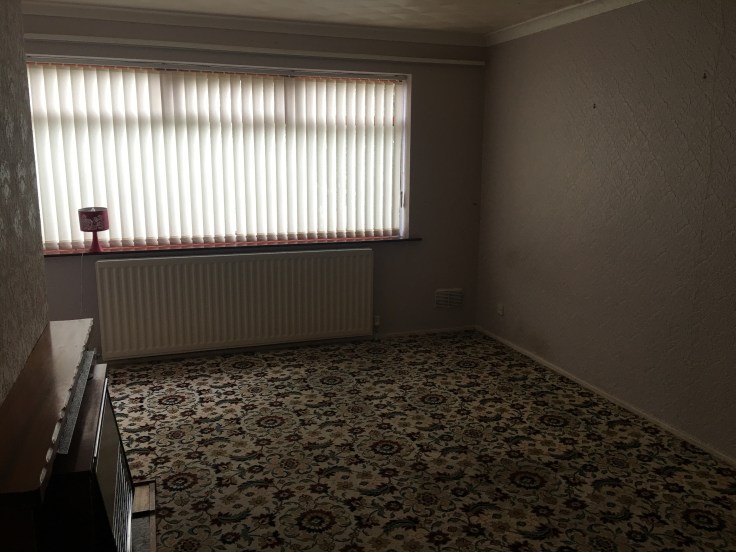
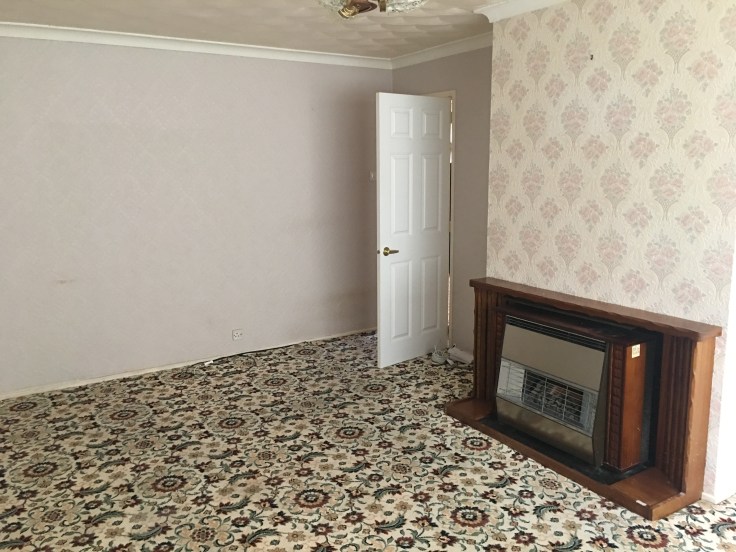
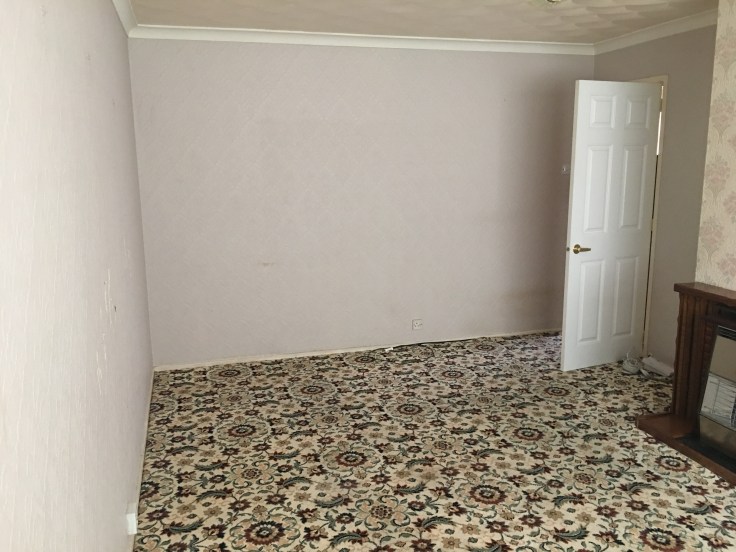
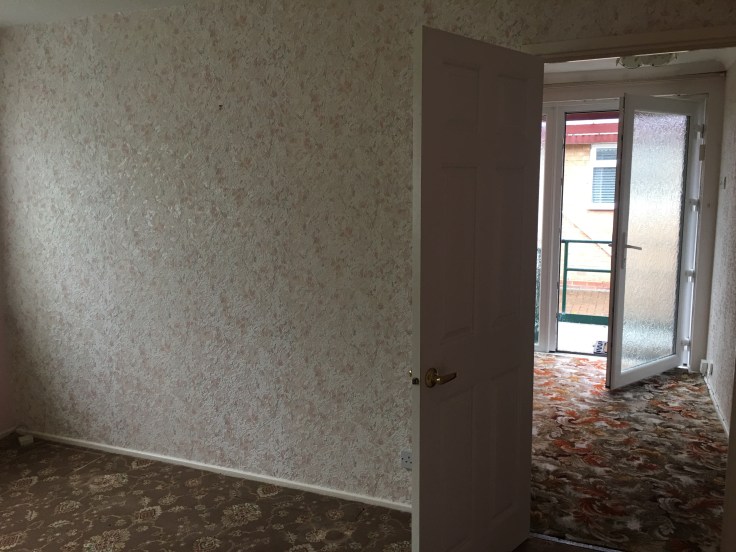
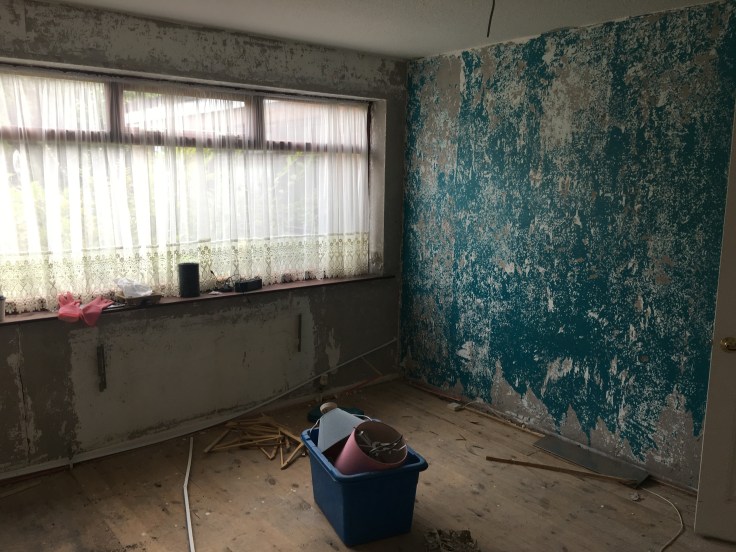
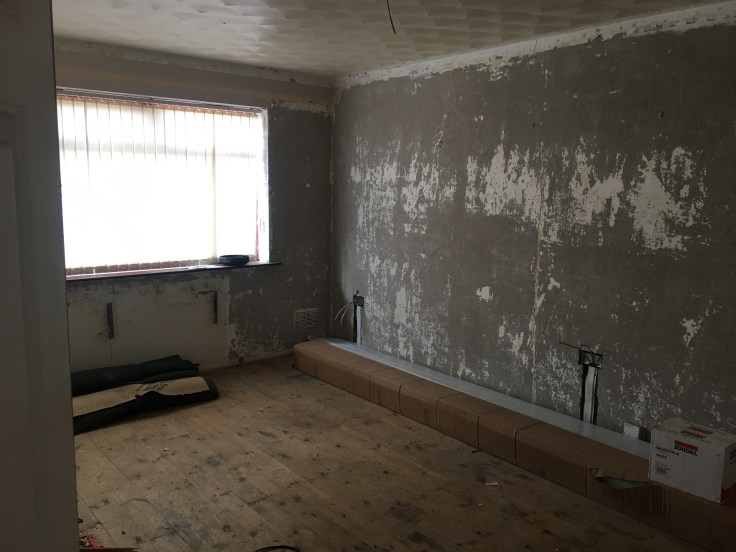
Living Room:
The living room was a really good size. It gets the sun through the front windows and in terms of design it didn’t need a lot of work. Take the old fire out, replace the windows & window sills, new skirting boards, carpet & radiator. Walls & ceiling skimmed.
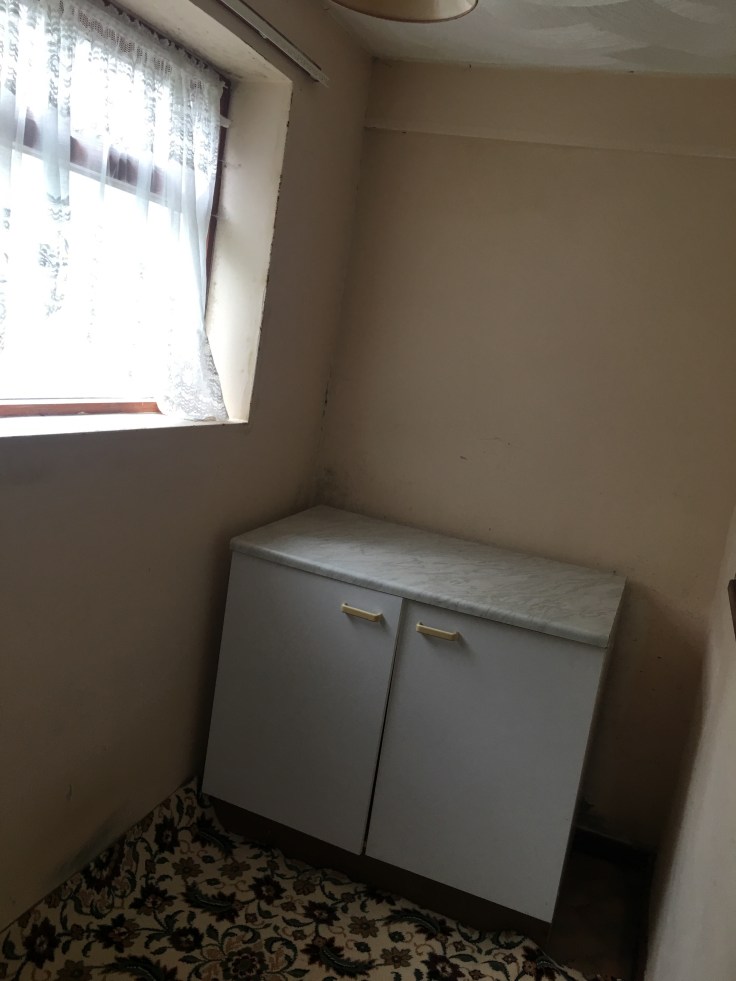
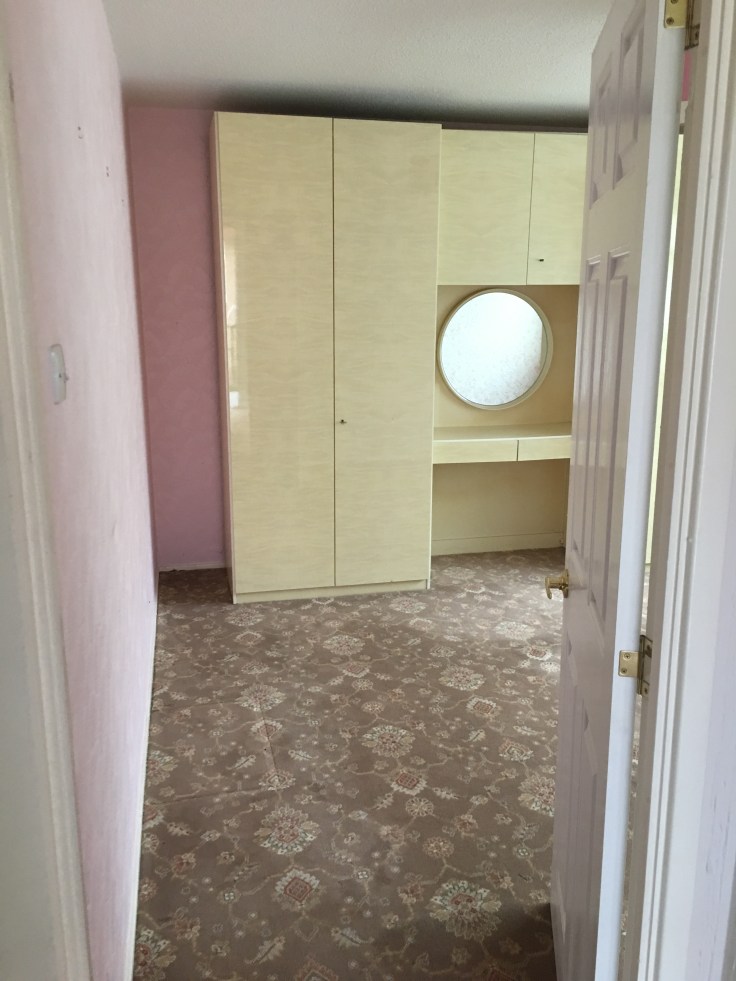
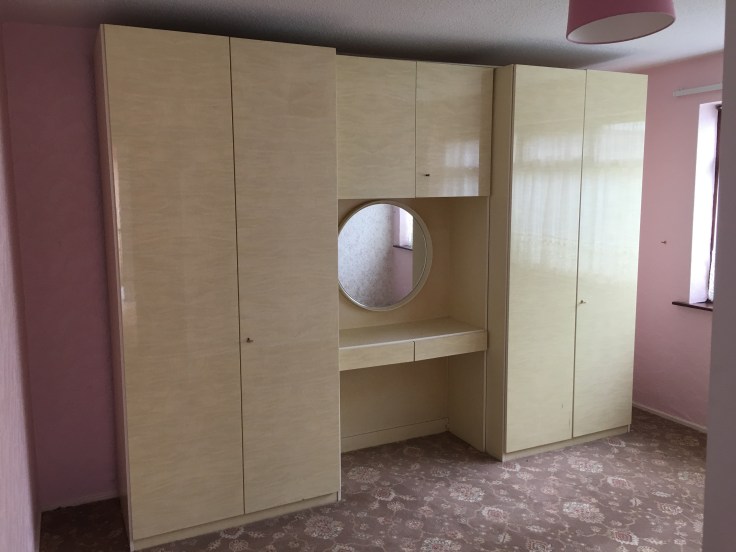
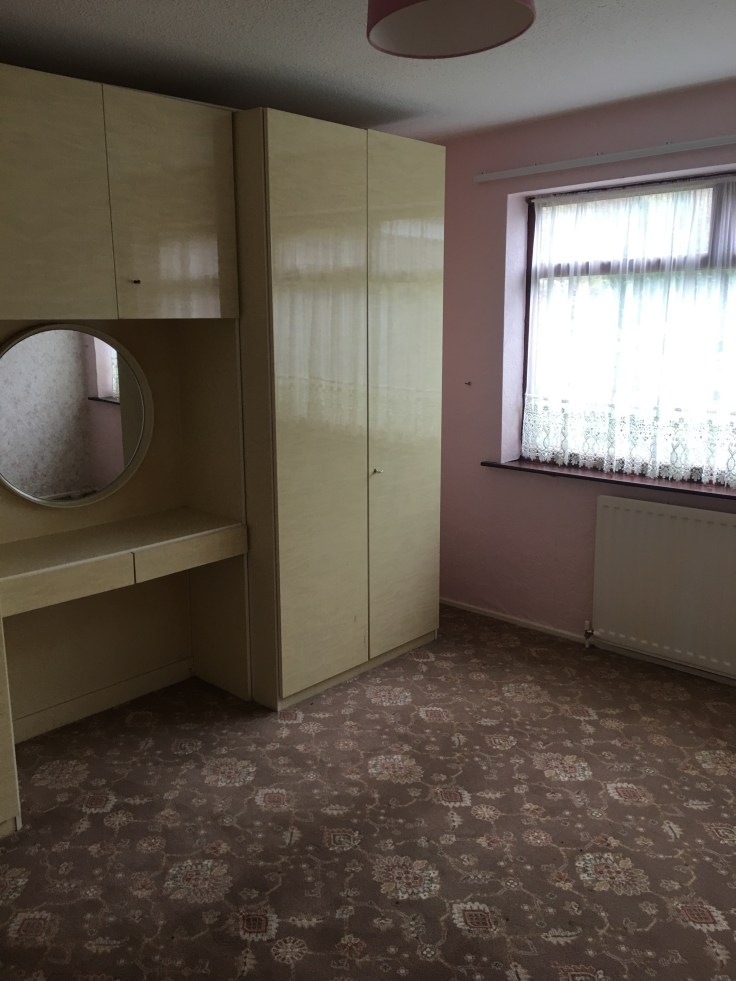
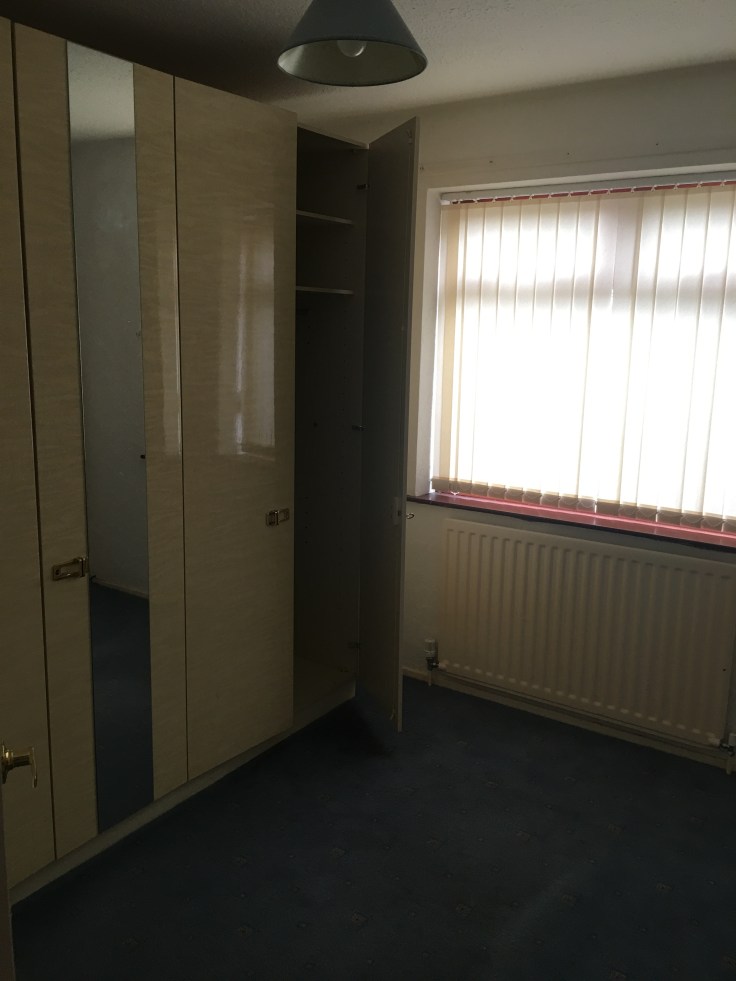
Bedroom 1 & 2:
Bedroom 1 was a good size at the back of the property overlooking the garden and no.2 was a good size single at the front. Same thing in here as the living room. Not much was needed just newly skimmed walls, windows & sills, skirting boards, carpets & radiators. We’d remove all the old built in wardrobes to give the rooms more space.

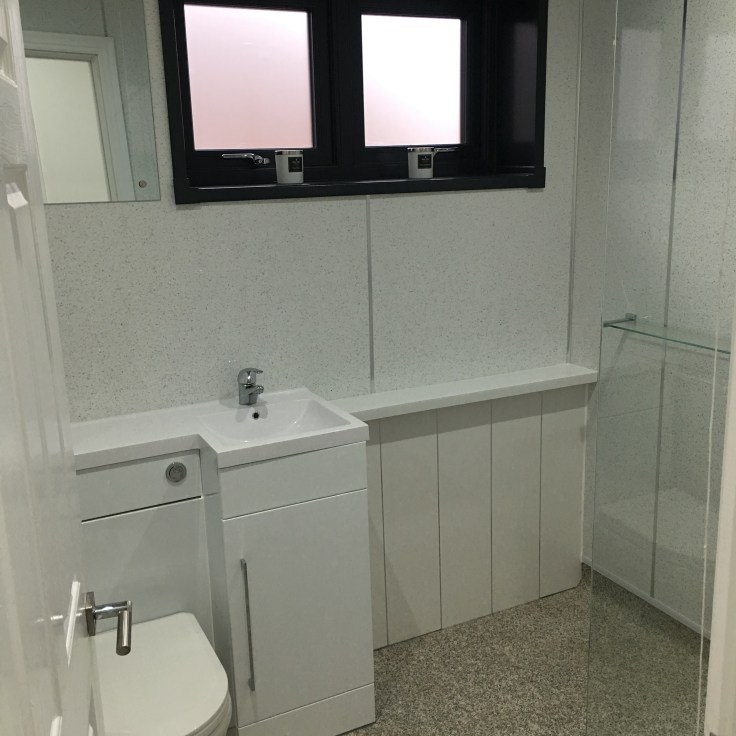
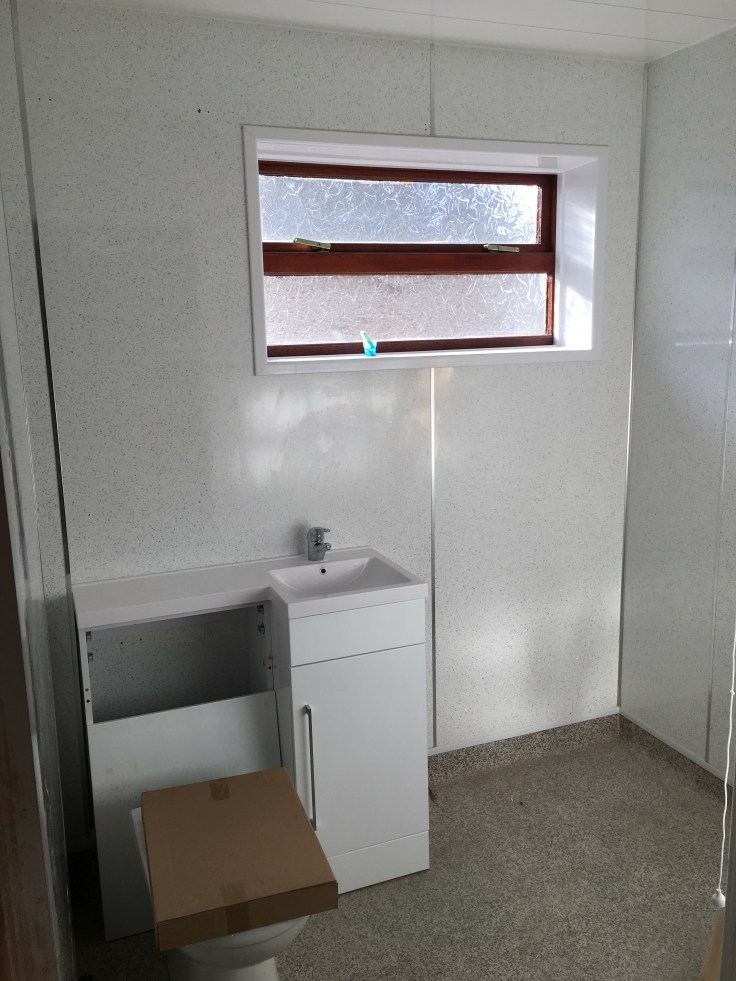
Bathroom:
The bathroom had been designed as a wet room with wheelchair access. The walls looked to be fairly newly replaced so we decided we could keep those and just work on updating the rest of the room. The window would be replaced and we’d take that sliding door out and make it a standard door. Take out that big wall unit. Replace the toilet & sink with a vanity unit to make it look tidier. Take out the plastic screen and replace that with a modern glass one. New ceiling and radiator.

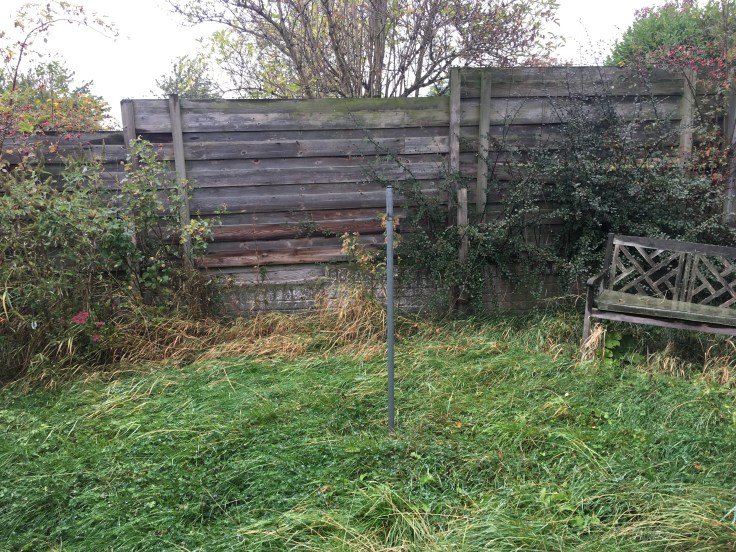
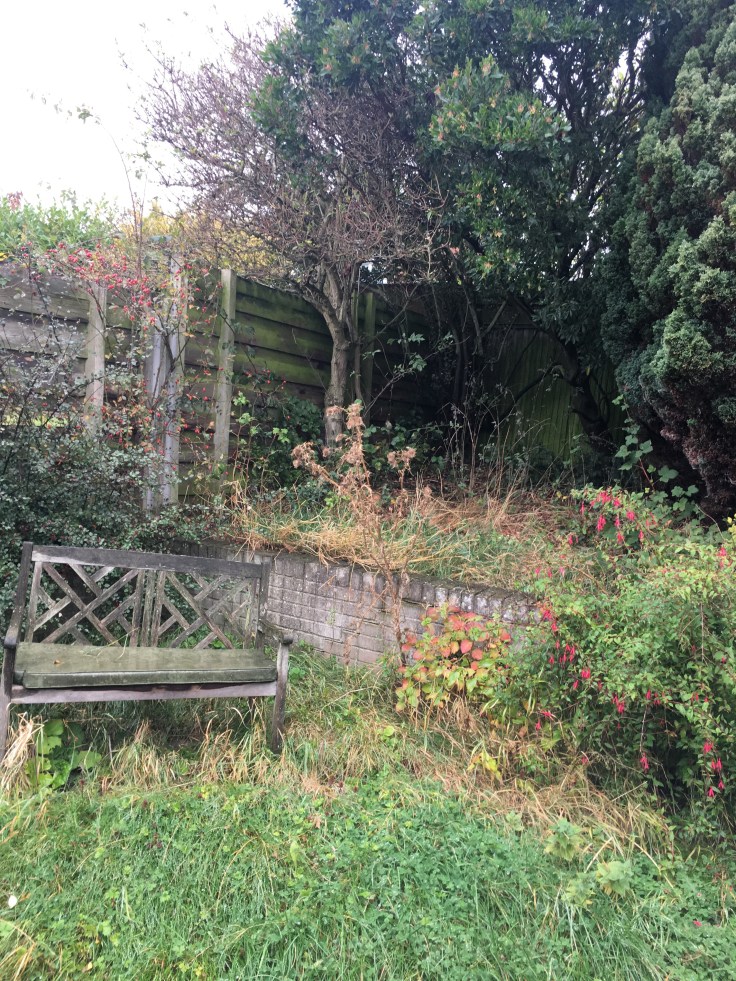
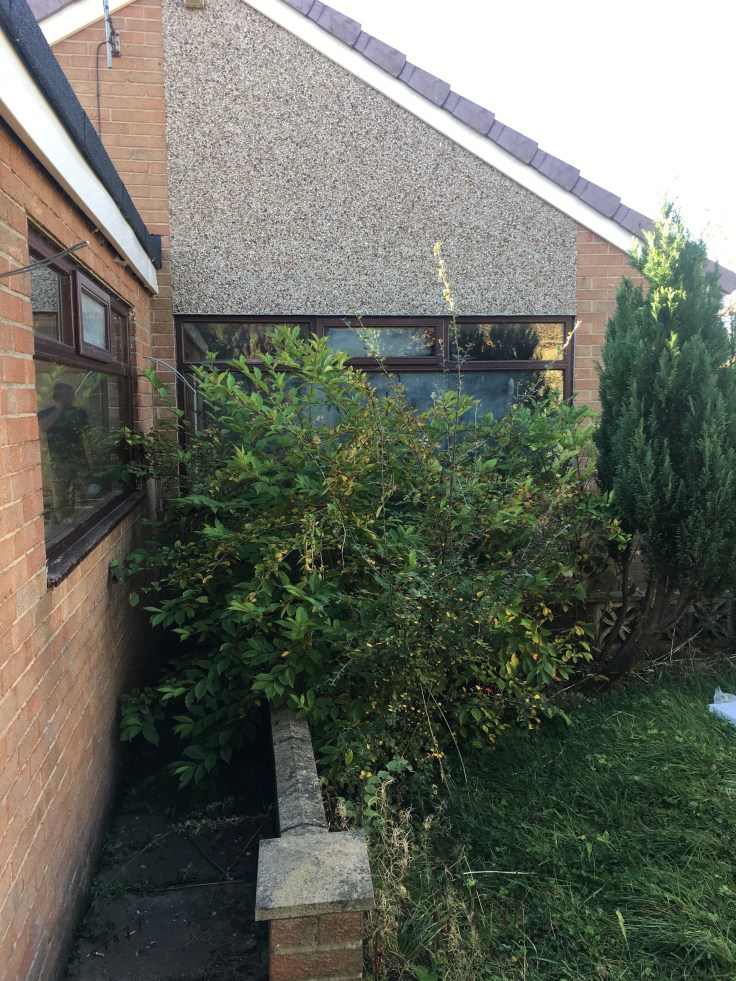
Garden:
From the photos I’ve got it’s probably quite hard to tell what is what outside as it was such a jungle out there. The bushes and trees were so overgrown you can’t even see much of the house when looking from the bottom of the garden. We didn’t give much thought to this in the beginning but It ended up being one of the biggest jobs, at times feeling harder than the actual house and cost a lot more than we’d anticipated to tidy it up and make it look presentable.


CLEAR EVERYTHING OUT
The next job was to completely gut the house and take everything out that could be taken out. The whole kitchen needed to be removed. All built in wardrobes. Carpets as they were holding a lot of the foist & smell.
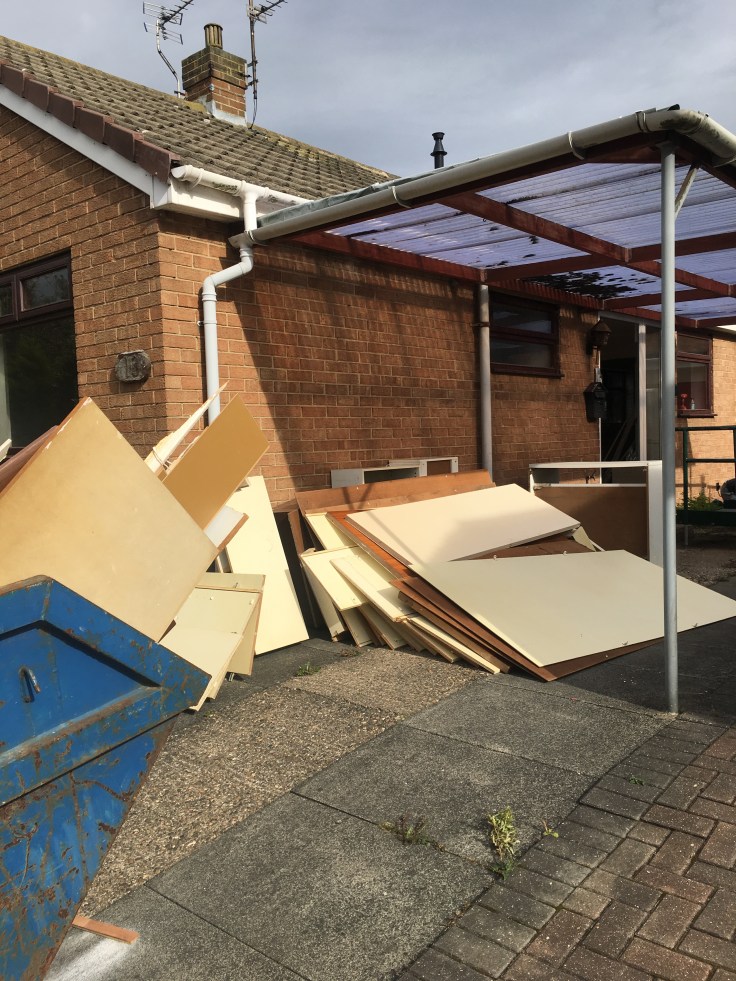
TIP: When renovating / Planning budget. Take into consideration the amount of rubbish removal you’ll need, and know what things can be tipped/skipped. It’s a lot more than you might think.
We underestimated just how much. Skips don’t come cheap and you can certainly fill them quickly with kitchen units etc. I think we went through 4 of the biggest size skips in total for this property. Plus we paid someone to take some of the bigger bits of rubbish away so it didn’t fill the skip up.
Carpets take up so much space, so you can take them to the tip yourself if possible but ours charge to get rid of them. Most appliances/metal we would leave outside and the scrap man would take them away but not a fridge. We had to pay the council to come and take this away as there was no other way to get rid of it.
Garden waste as well. We went through so many dumpy bags full of this. Luckily we can tip this ourselves and we had a van to take it but goodness knows how many trips we did.

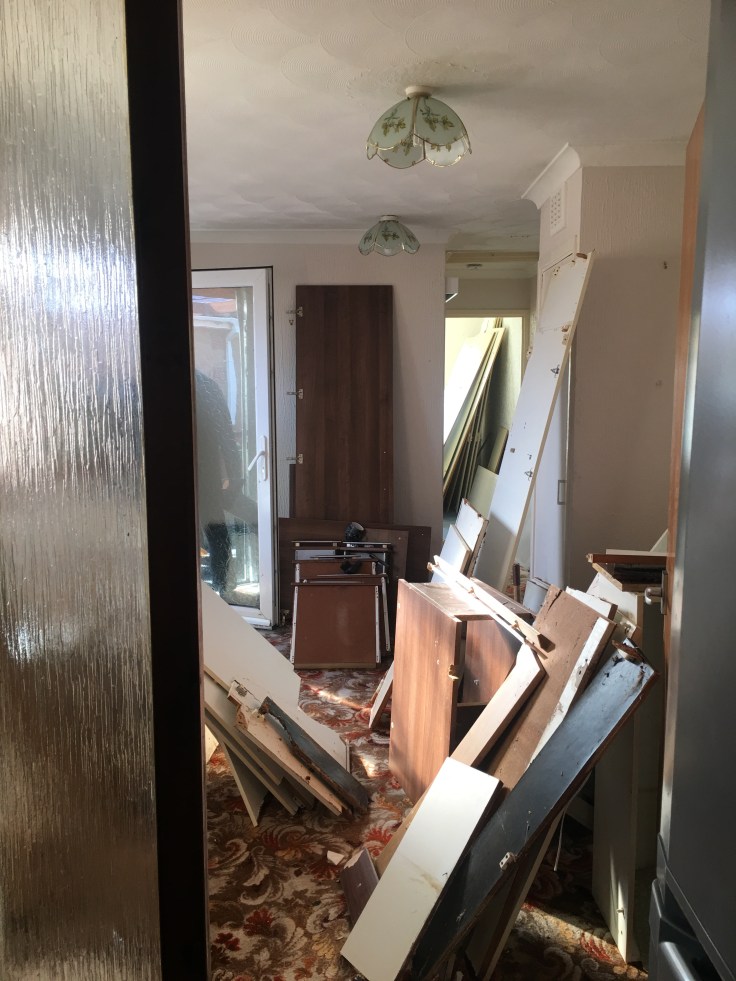


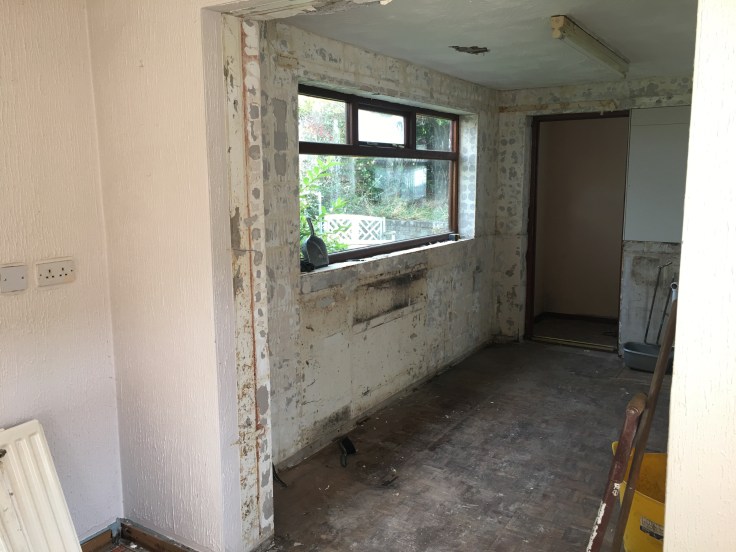
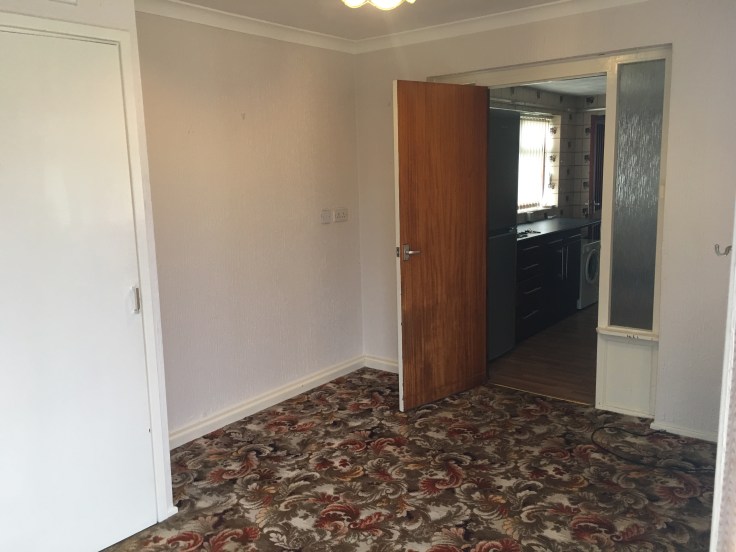
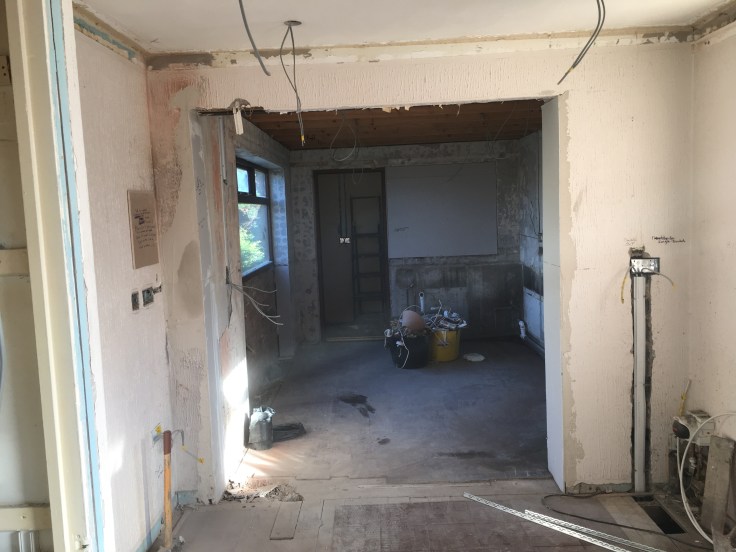
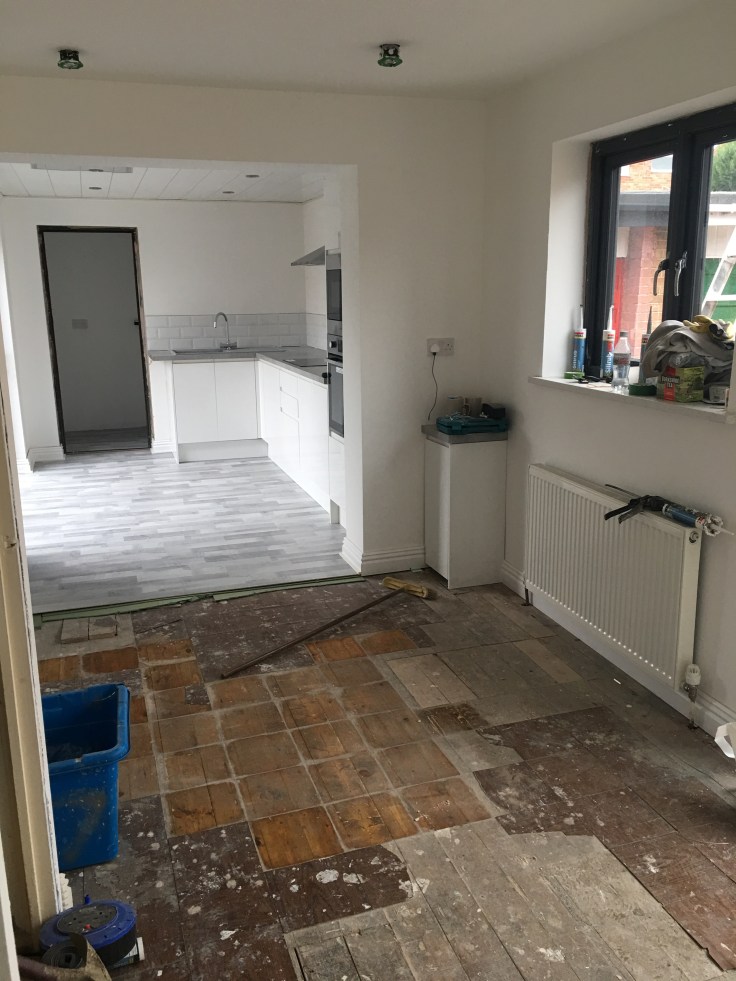
Once everything was out it looked so much better already. You can see in the last photo above we had taken away the wooden doorway which lead into the kitchen and this opened it up but we still weren’t happy with the wall to the left. It wasn’t going to look right with what we had planned and the 2 rooms still didn’t flow right.
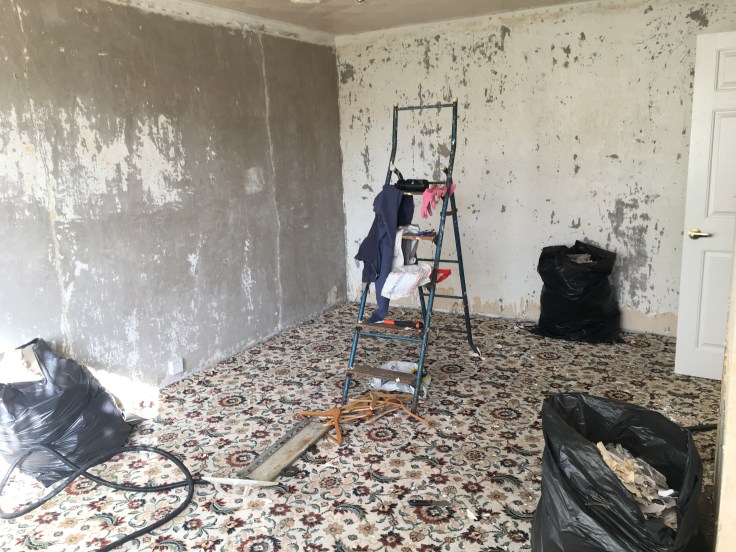
WALLPAPER STRIPPING.
All of the walls in this property had beautiful old wallpaper on which had to be removed in order for it to be skimmed. It’s one of the worst jobs and so time consuming but needed to be done.

REMOVING WALLS:
Before trying to remove any walls, always seek advice from a Professional as to wether it’s possible and if so what you’ll need to put in place to be able to do it.


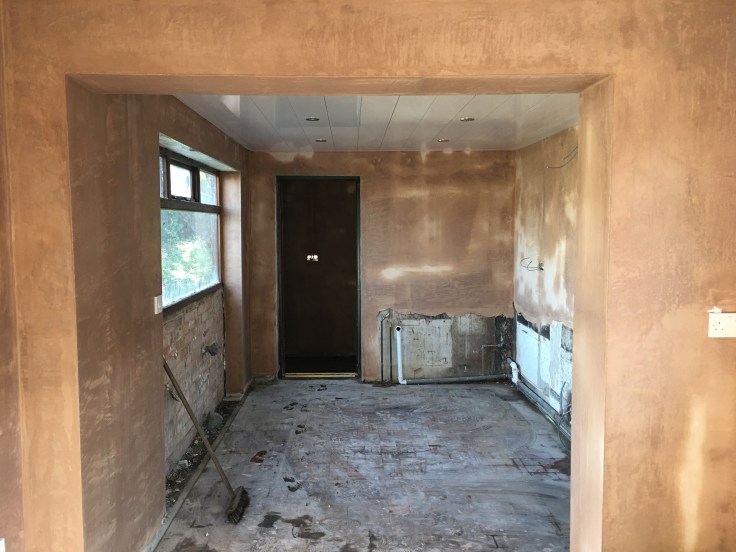
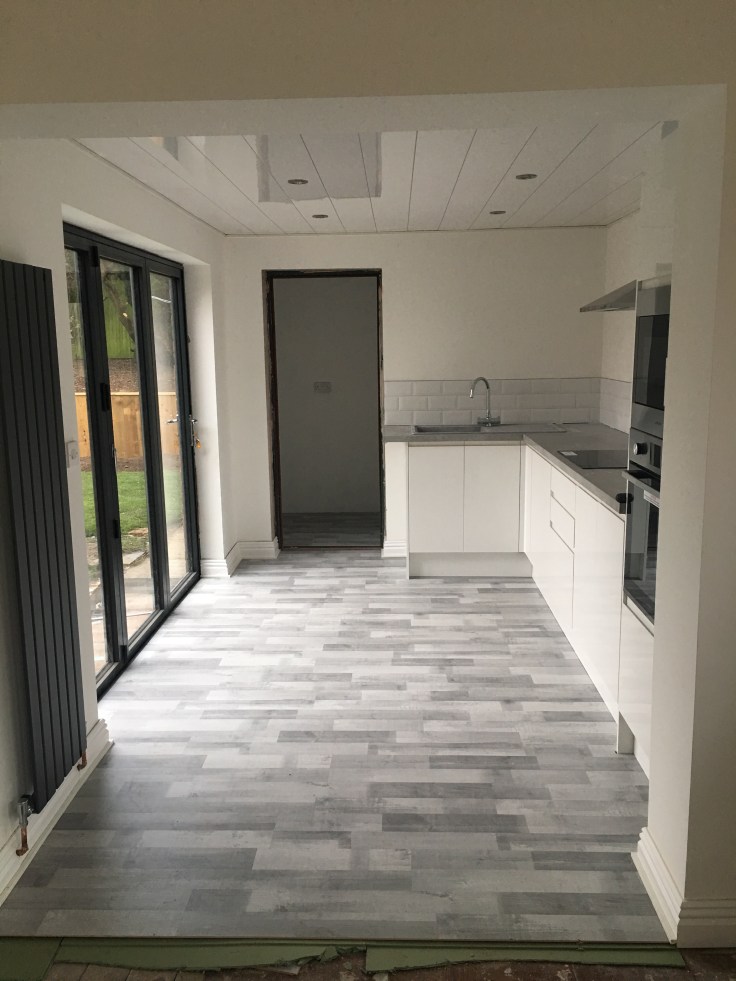
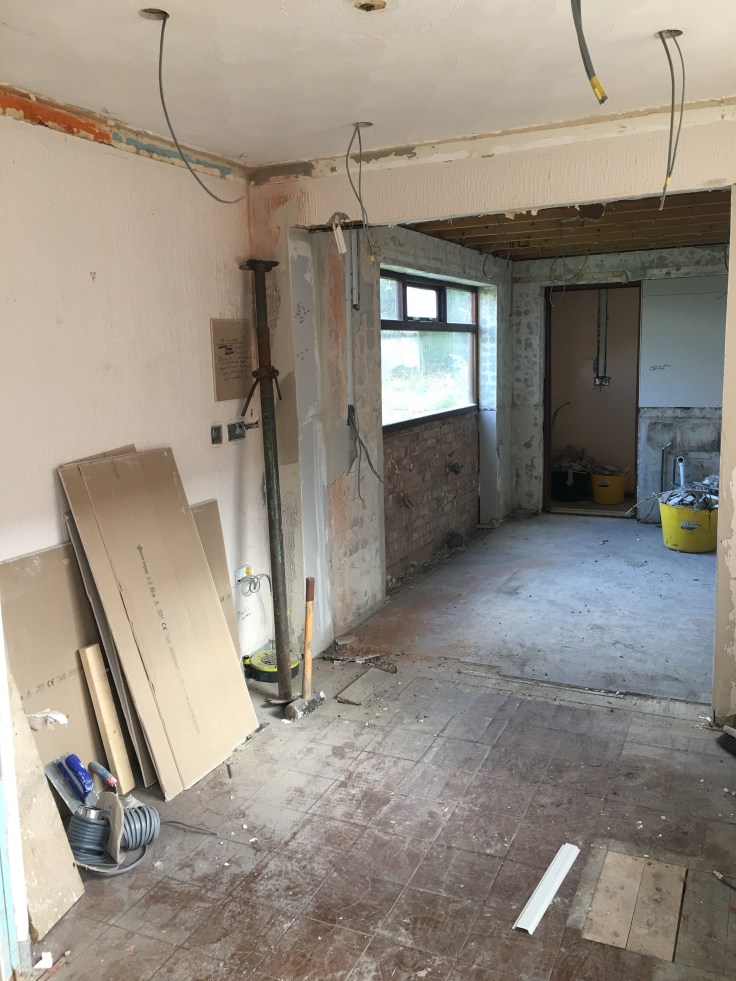 We wanted to remove that little bit of wall to make it flush with the back wall. This meant putting in a steel lintel. As you can see it just opened it out that little bit more and made it feel like these two room could flow into each other. Where the kitchen window is I wanted to put some doors going out into the garden. I looked at patio & french and in the end, although a little more costly I decided to go for Bi-Folds as I think they just give that little bit more of a wow factor & would really finish this room off.
PLUMBING:
You’ll need a registered & reputable plumber for all Bathroom, kitchen, boiler & radiator works. The boiler had only been replaced a few years ago in this property so thankfully didn’t need replacing but we needed him to take off and replace the old radiators, some pipes needed moving. Move plumbing from the kitchen and add it into the utility room. Add plumbing for the new sink in the kitchen. Plumb in the new vanity unit in the bathroom.
ELECTRICS:
As this is such an old property the wiring was very dated. Also, because we would be changing everything around and adding in a new kitchen etc, we decided to have the whole place re wired. A brand new wiring system, lights just where we need them and sockets too. Again make sure you use a reputable & registered electrician for this as you’ll need the work signed off and provide a certificate when you sell the property.
It’s a messy job and leaves holes everywhere but it’s good to get everything where you need them. We’d boarded up the old little window in between the kitchen & the utility room and we were ready to get it skimmed.
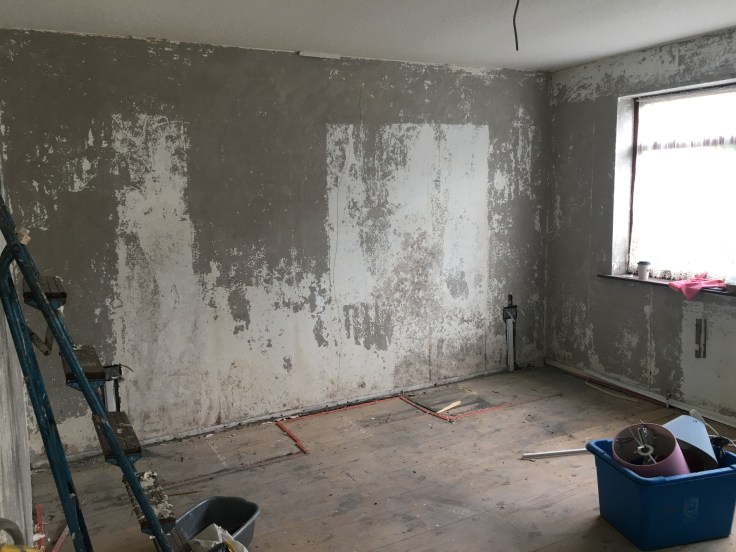
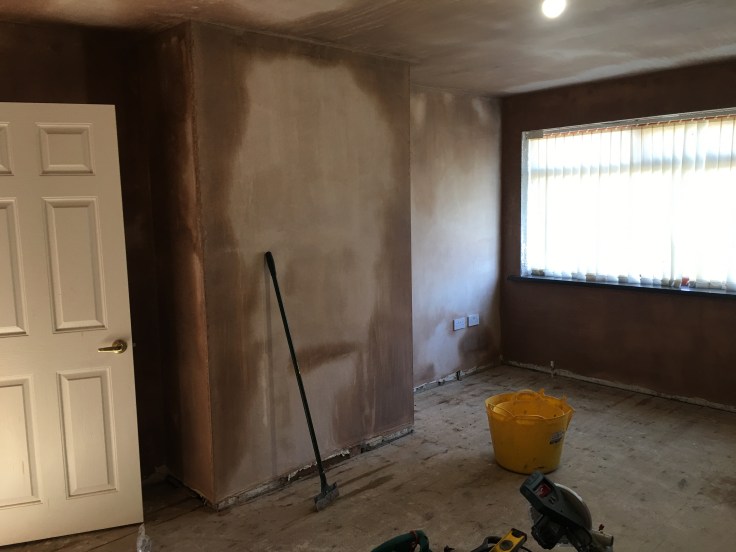
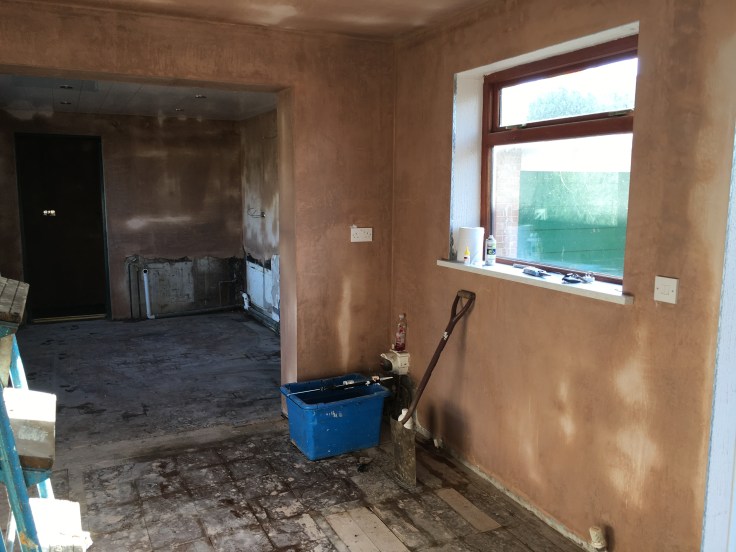
PLASTERING:
I love this stage, once all the holes are filled in and it’s plastered it looks completely different. It’s hard for some people to imagine rooms sometimes when there’s holes everywhere & rough old bare walls but once it’s plastered it’s a blank canvas & starts to finally come together.

NEW WINDOWS & DOORS:
We decided to go for grey windows & doors on both the inside and the outside. The grey is slightly more expensive but I think it’s definitely worth it. They really look fab.
As we wanted white render for the outside the grey would look best to break it up. Because it’s a bungalow is was quite a lot of area to cover with render and would of looked a wash out with white windows. 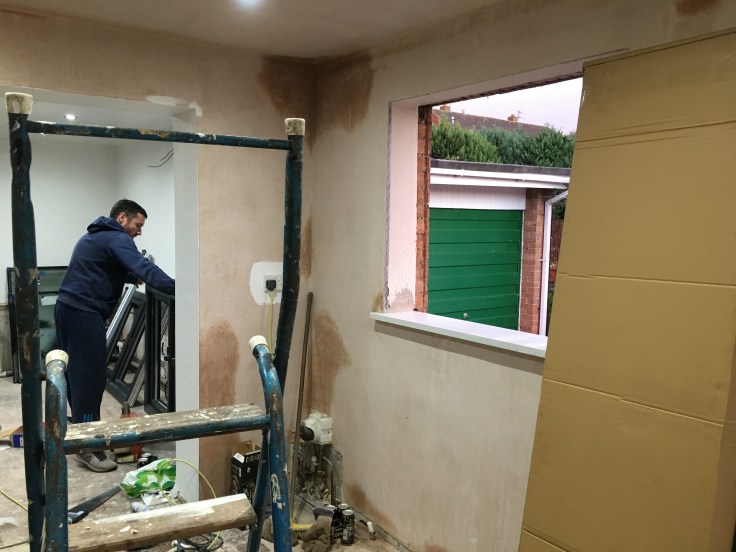

 The front door took a bit longer to come as we wanted it grey on the inside as well. They’re generally white on the inside so it had to be sent away to be sprayed in grey. Again cost more, and more than we’d wanted to pay but would look so good once it was in.
KITCHEN:
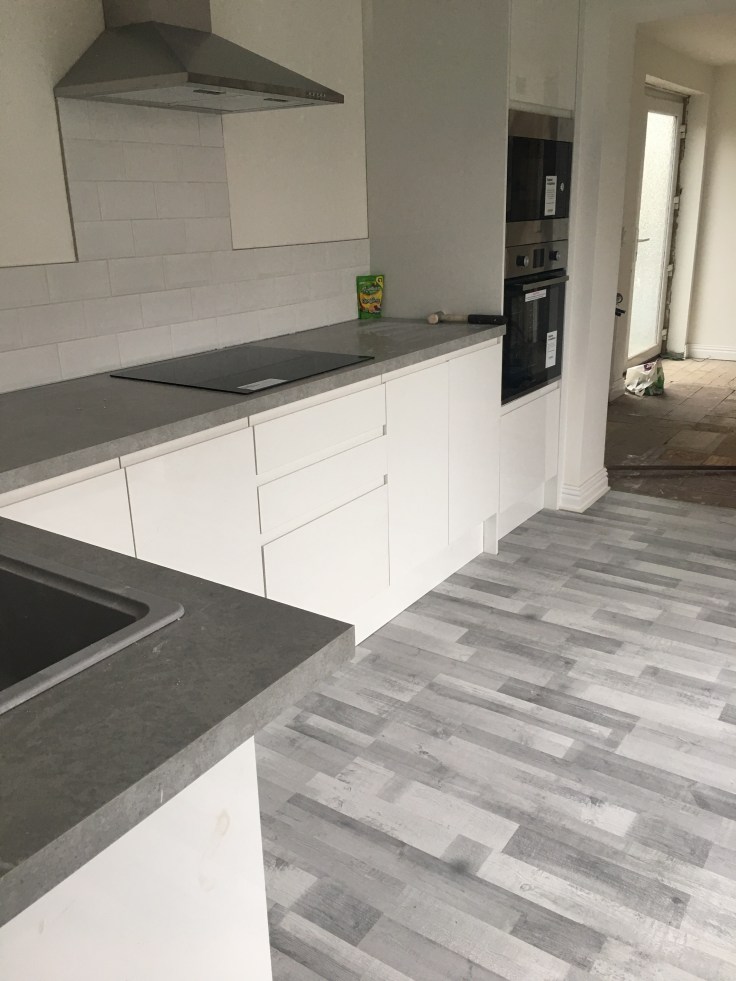
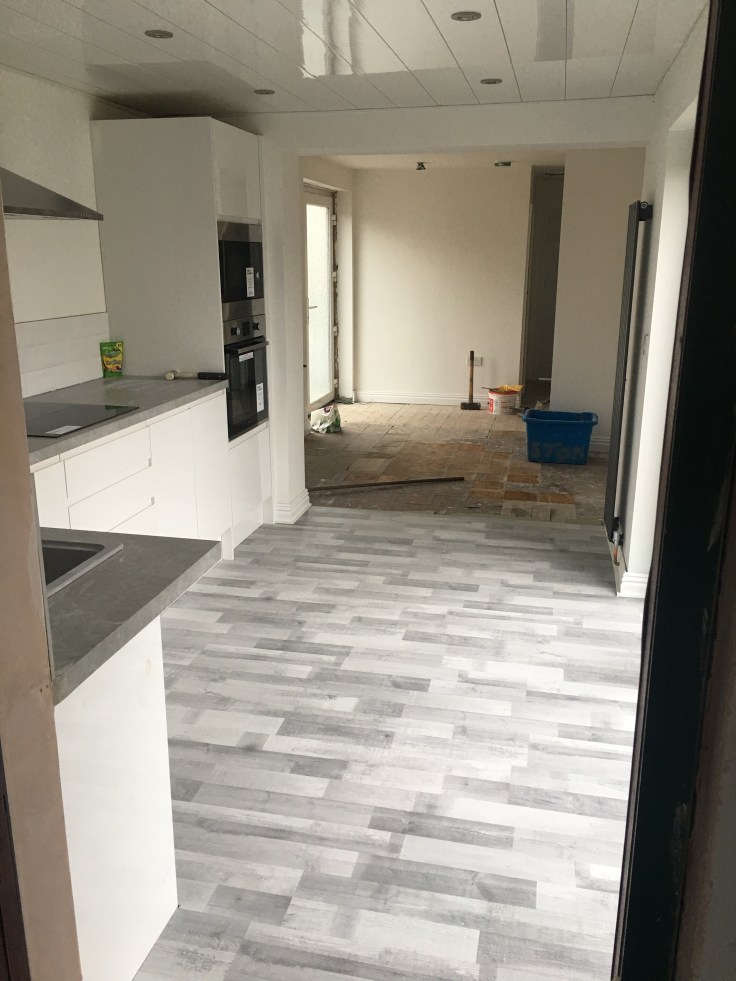
As you’ll know from my own home blog I love Howdens kitchens. They always come out so good on price, always have the designs I want and have everything in stock so delivery is always quick and just when we need it. Once the kitchen started it was finally starting to come together. 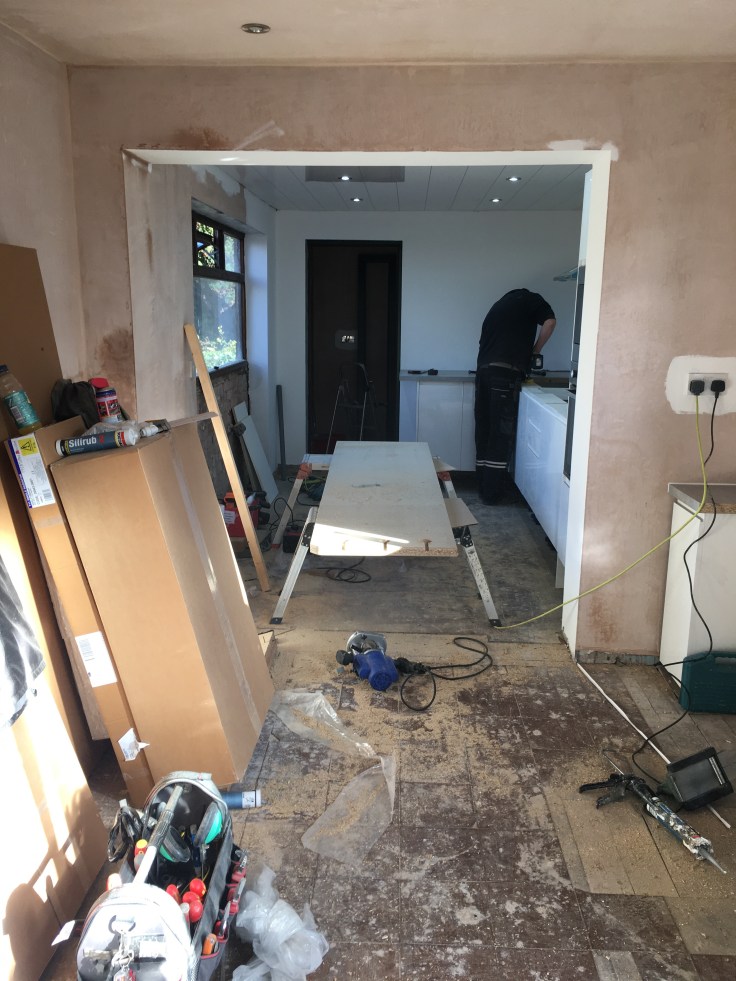

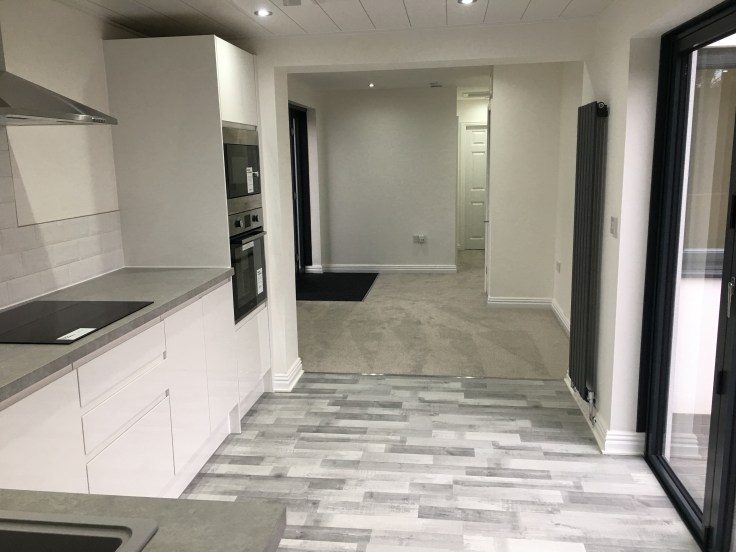
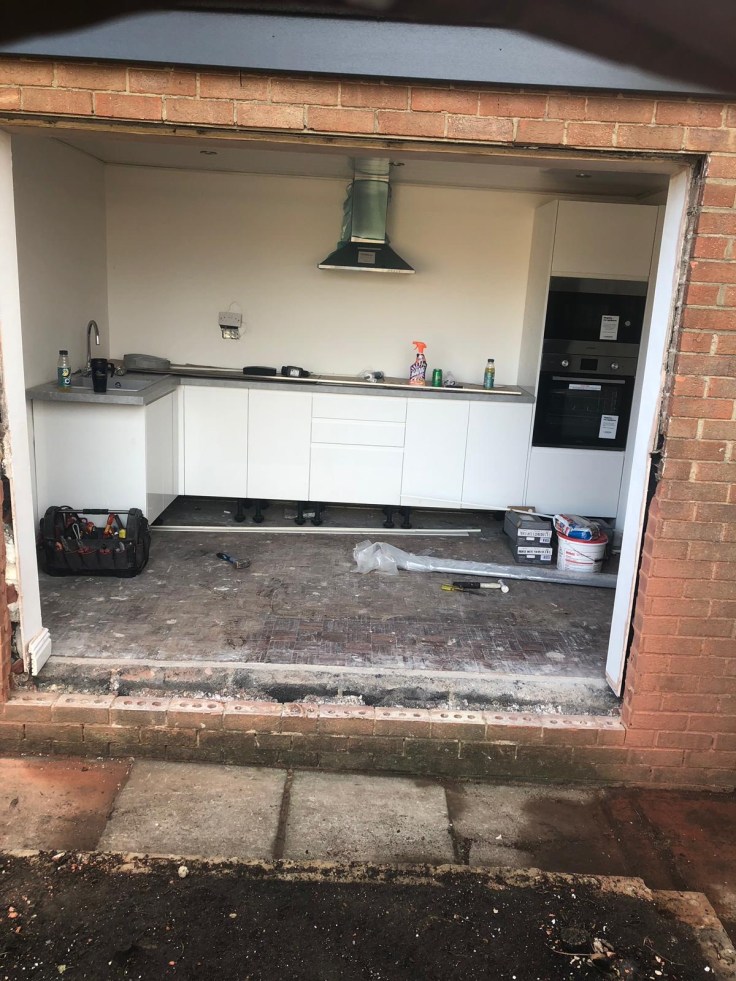
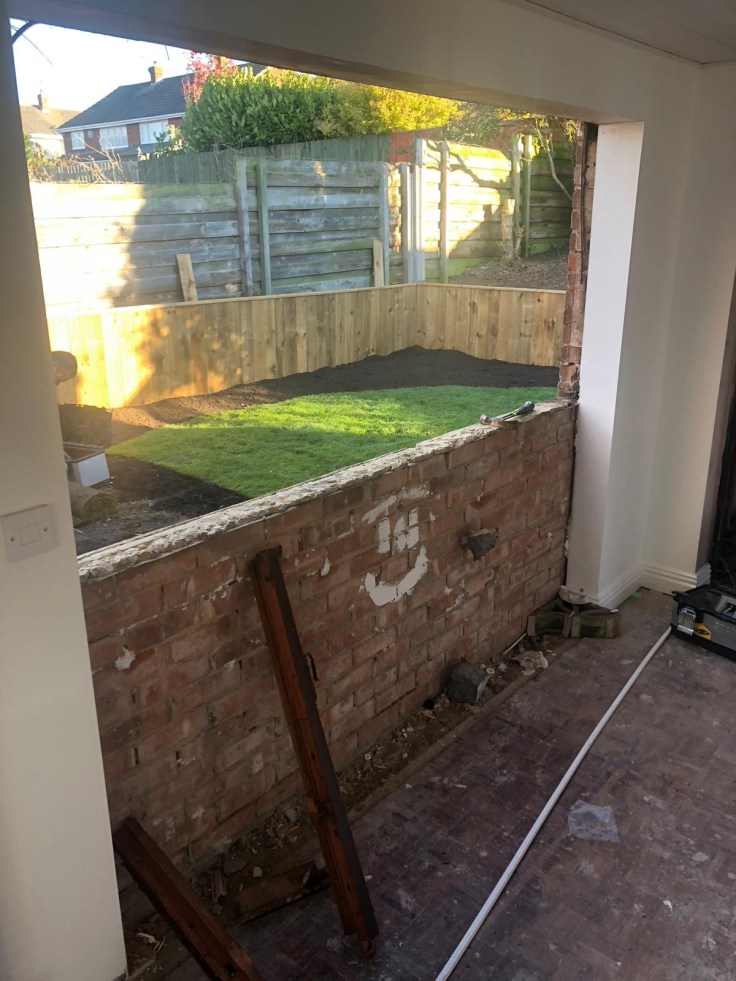
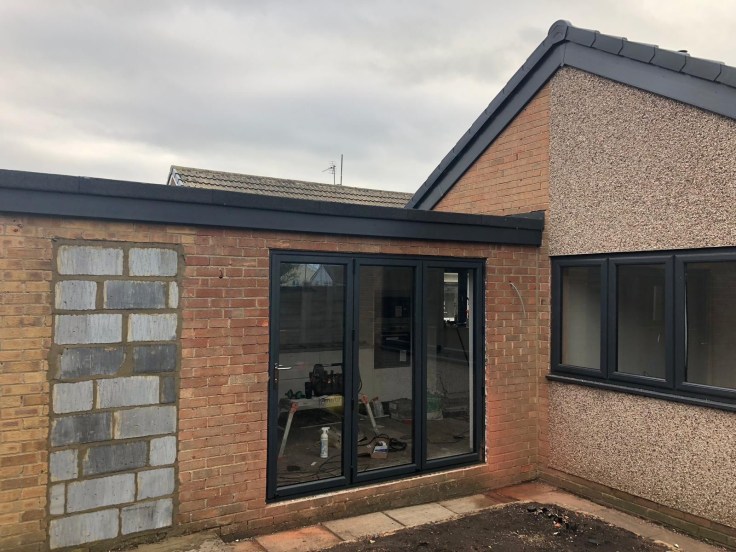
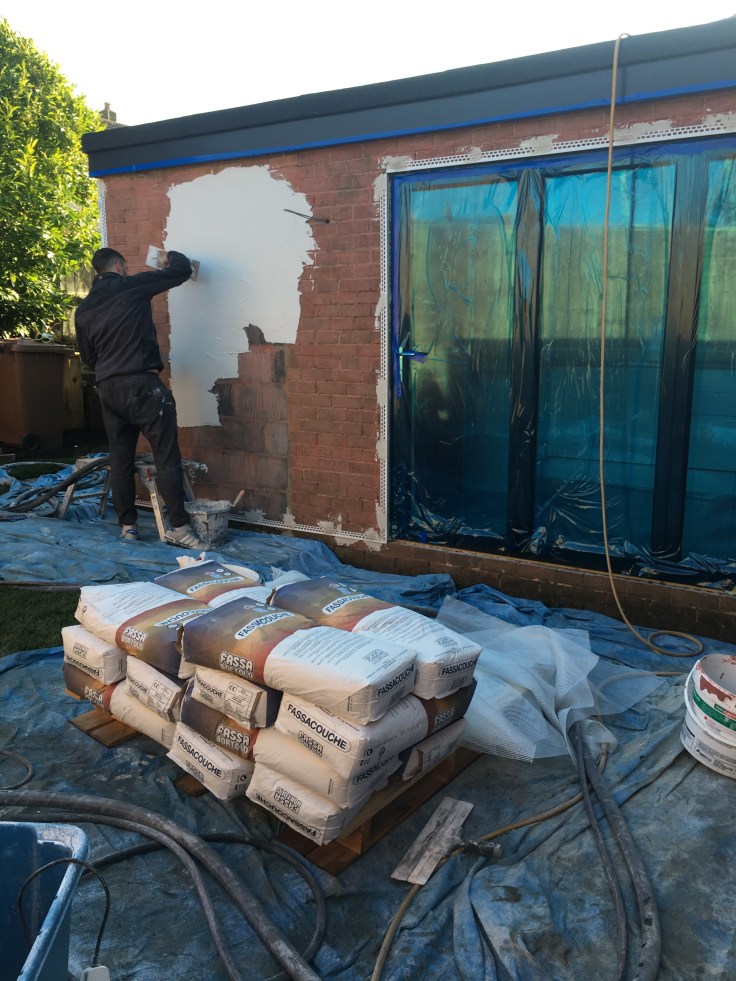
 So what about that big old window in the kitchen? It was finally time to get started on the idea for this space. Before now you could only access the garden through the door in the utility room. Rather than replacing this door, we had it removed and blocked up and here we would remove the window ….. take out the bricks underneath and put in place a brand new Bi Fold Door !!! Obviously it’s not quite as easy as that, and a lot has to go into place to make it happen but it wasn’t a job that took too long.
Here is the back of the house before …..

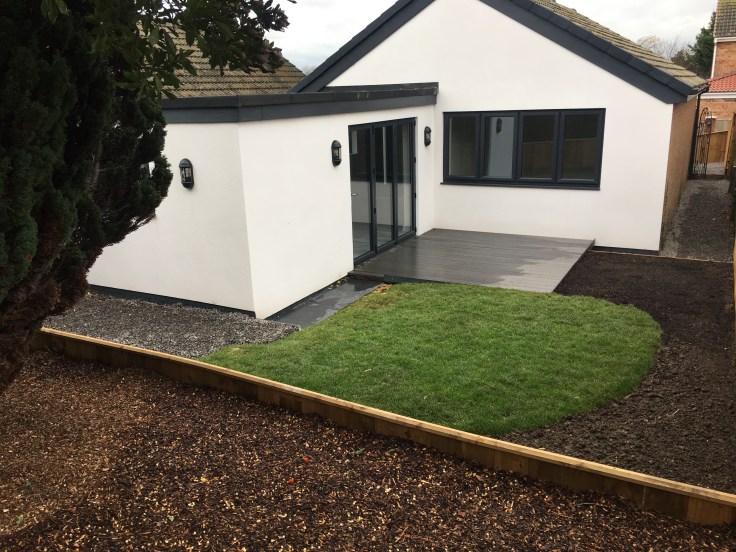
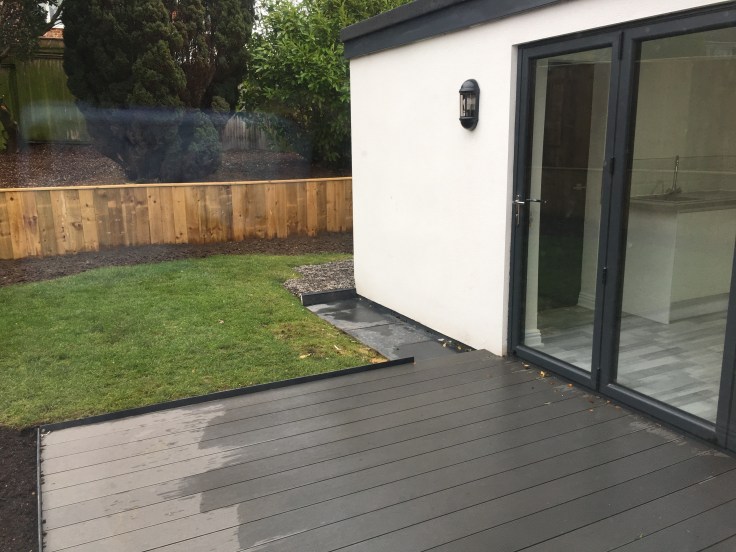
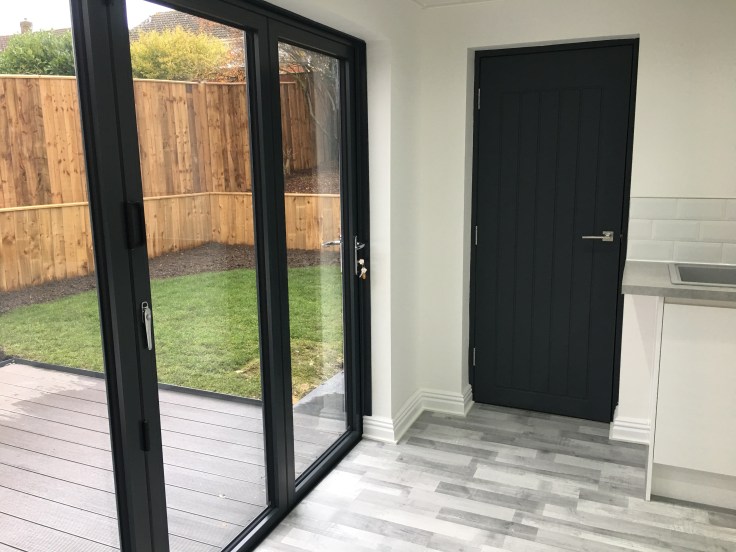
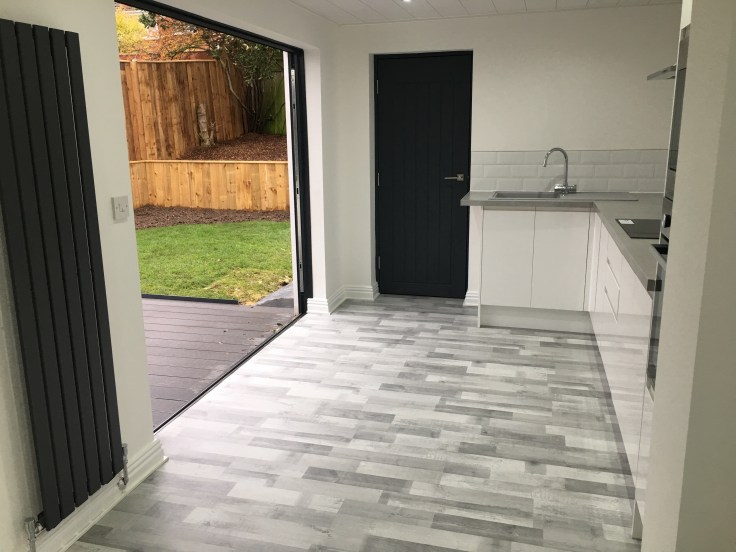
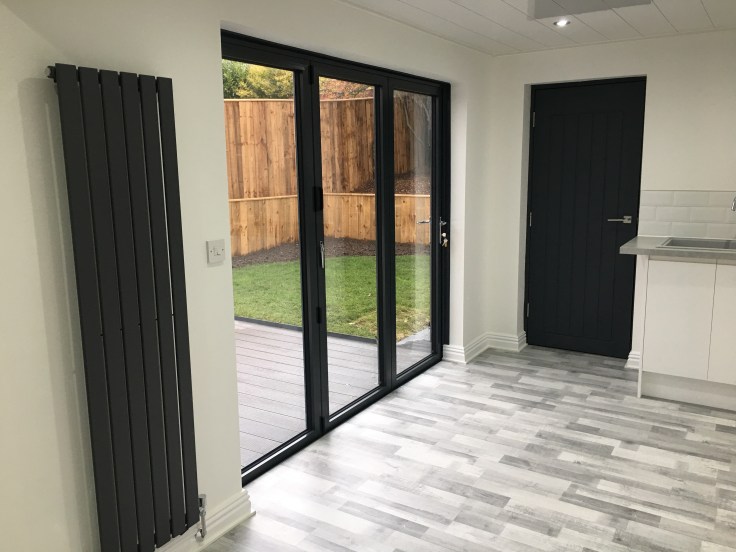
And here is the finished outcome ……
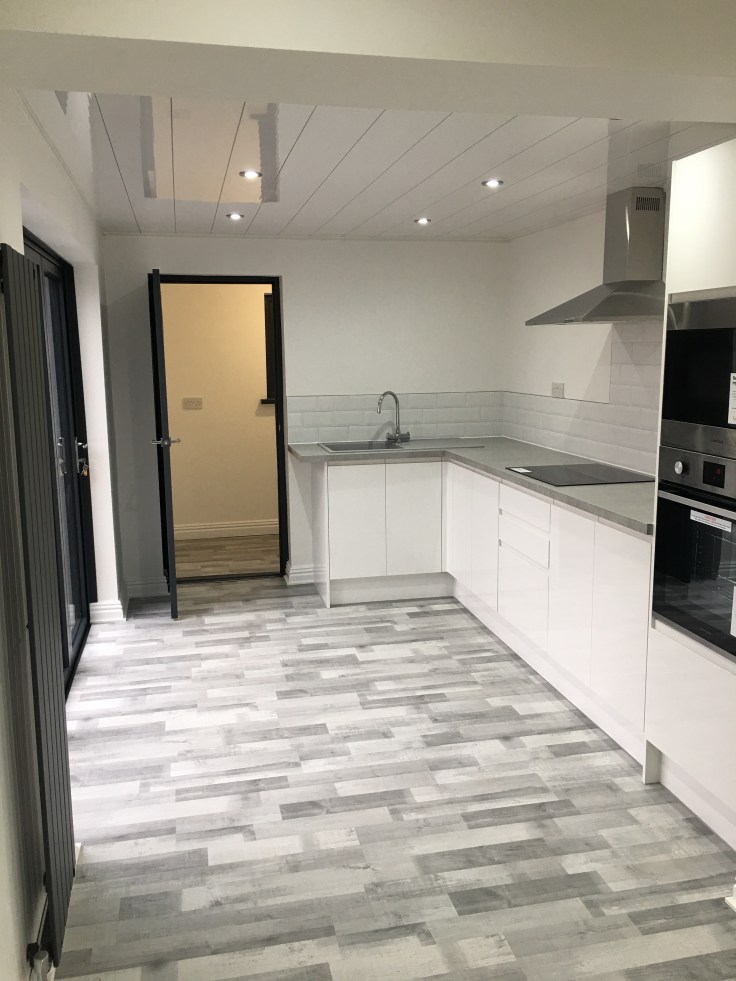
KITCHEN :
Moving back to the kitchen and things had changed massively. I’d chosen the new floor (From B&Q) and the new radiator had been fitted on the wall beside the Bi folds. We decided to add some subway tiles along the back of the worktop to finish it off properly and make a splash back behind the hob. 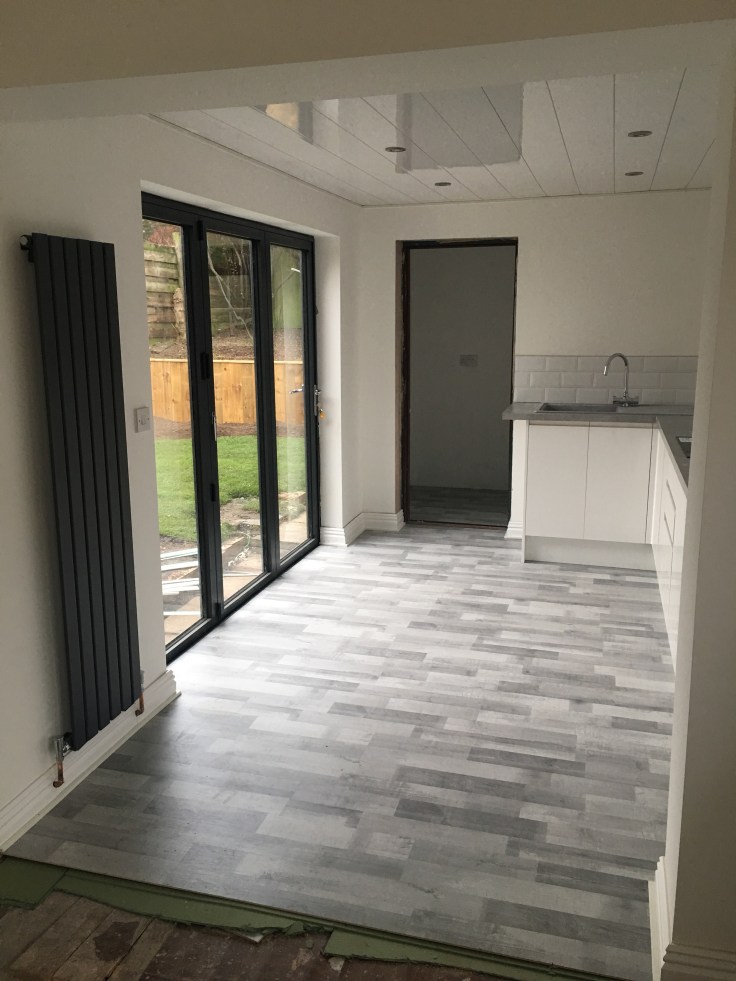
PAINTING:
Once all the plaster is dry you’re ready to get some paint on the walls. We decided to just stick with white throughout as it leaves a blank canvas for the new owners to put their own stamp on it.
Painting onto fresh plaster isn’t as difficult as people think. I get a lot of questions about this…
We buy big 15L tubs of white emulsion and paint straight onto the plaster. It does take a good 3-4 coats but it covers well. Try and find some trade/builders emulsion as I’ve found this to be thicker than some that you can get cheap and don’t work/cover as well.


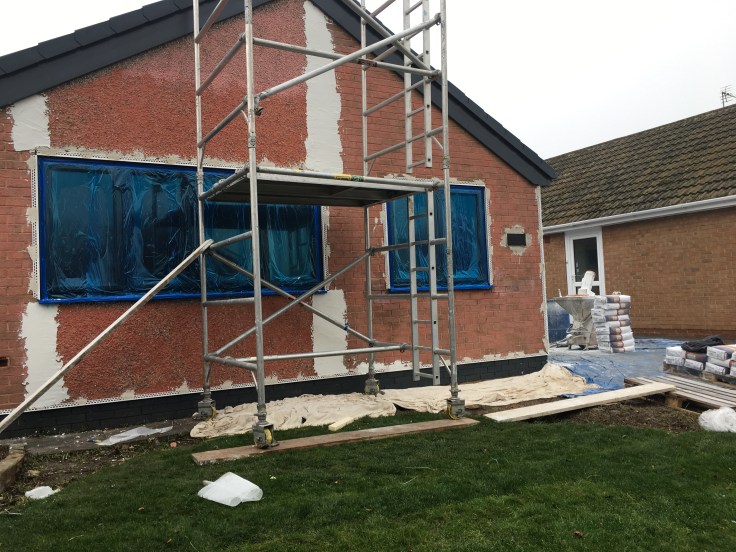
RENDERING:
This is the best way to completely transform a house I think. The front of the house had the old fashioned pebble dash on and at the back we’d blocked up the doorway so the only way to cover this and make it look amazing is with render ! I went with white, the same as what is on my own home. Once you’ve got a price agreed with the company they’ll take care of everything. It’s a messy job but my goodness it looks amazing once it’s finished ….


OUTSIDE:
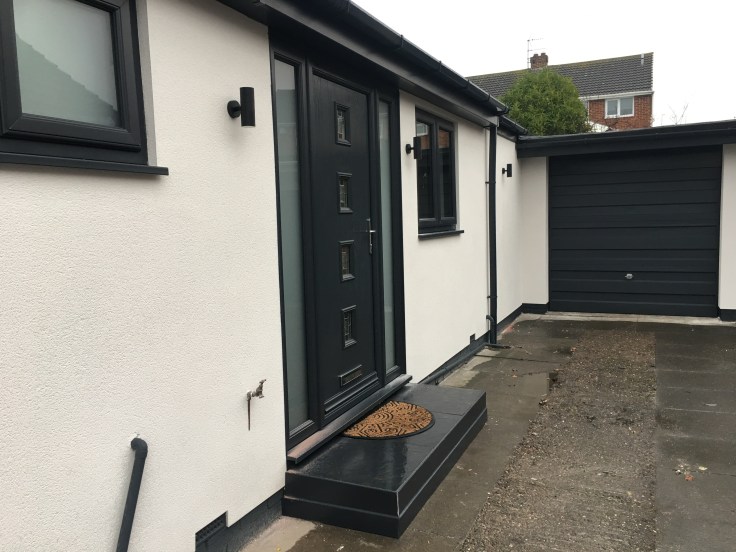
Things were really starting to come together now. Outside the render was finished and we’d laid new turf on the front. filled in the beds with grey stones and added a new fence along the side and all the way along the back garden. The new front door was finally in and a new doorstep made. Garage door was painted in the same colour grey & pressure washed the drive down. 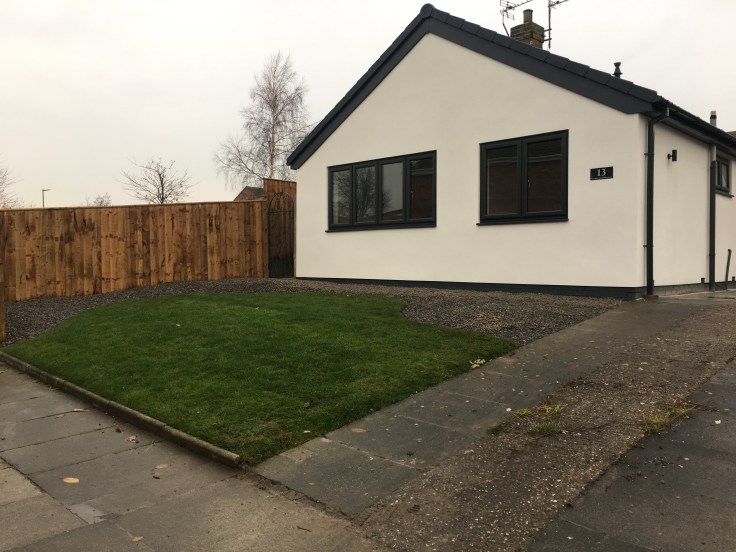
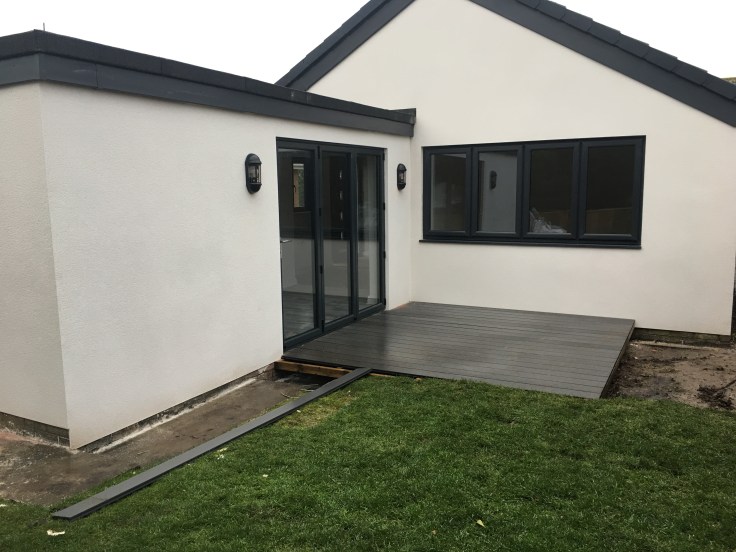
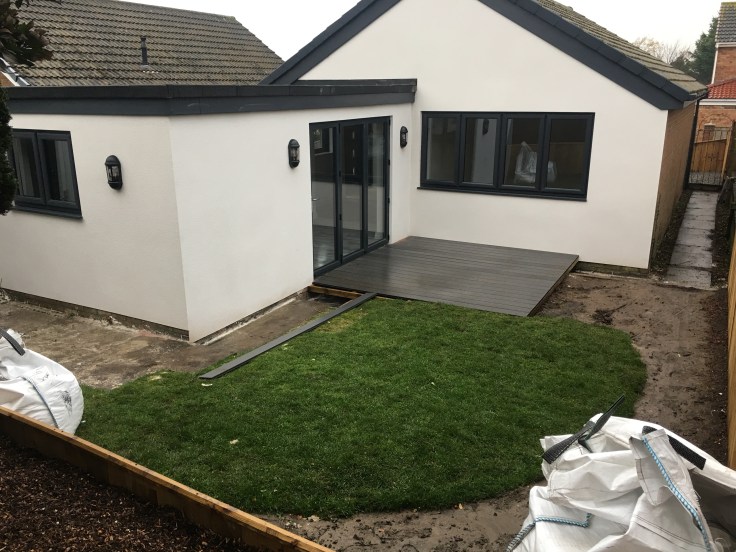
Out the back there was massive changes also. We’d added in a lovely decking area straight outside the Bifolds. Laid new turf and had plans to add new soil & some bark to cover the beds and neaten them up. Finished off with some lovely outside lights.
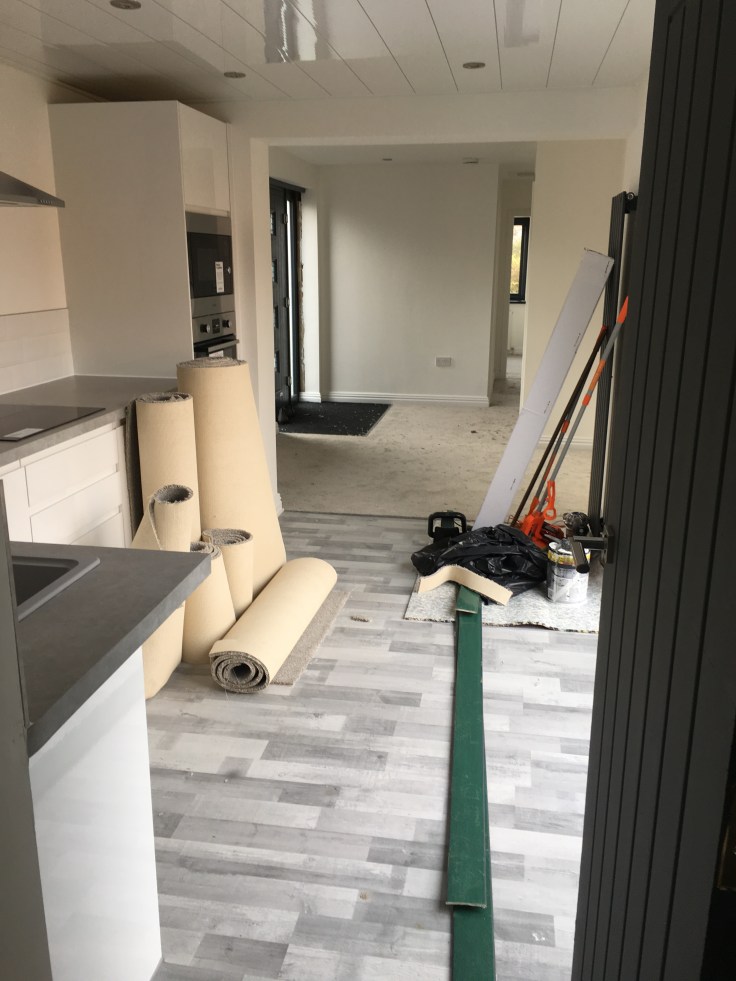
CARPETS:
This is literally the last thing you want to do. Only when everything else is finished can you get the carpets in. We went for a light grey carpet and had new underlay put in throughout.


We added a built in door mat at the front door. These are great as they look nice and tidy but also do a good job. Gives people a chance to take off their shoes before coming onto your carpets.
FINISHED AT LAST ……
After months of work the bungalow was finally finished. I hope you’ve enjoyed reading this and found some inspiration from it. Anything is possible and even the oldest, worst decorated places can end up looking amazing !!