
This was the very last room to renovate. As always the kids came first and we did their rooms before we even thought about sorting our own. I actually decided to do this room as a little project for myself and surprise for my husband. He wen’t away to work for the week and I managed to completely transform the room just in time for him coming home.
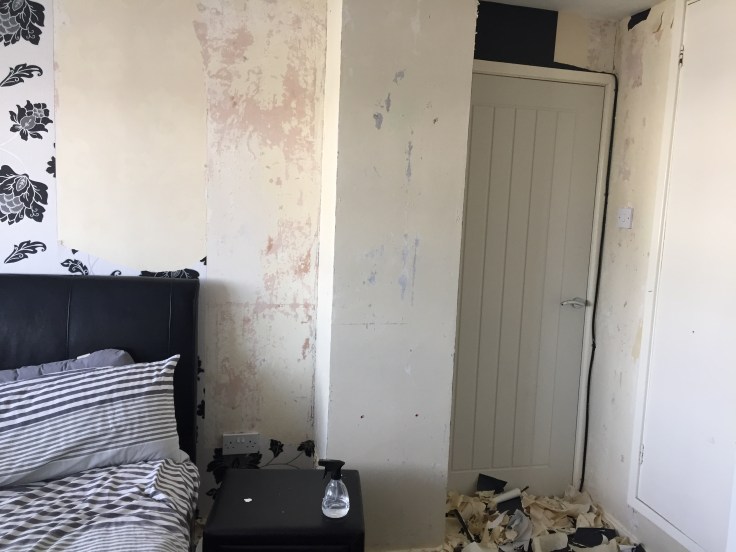
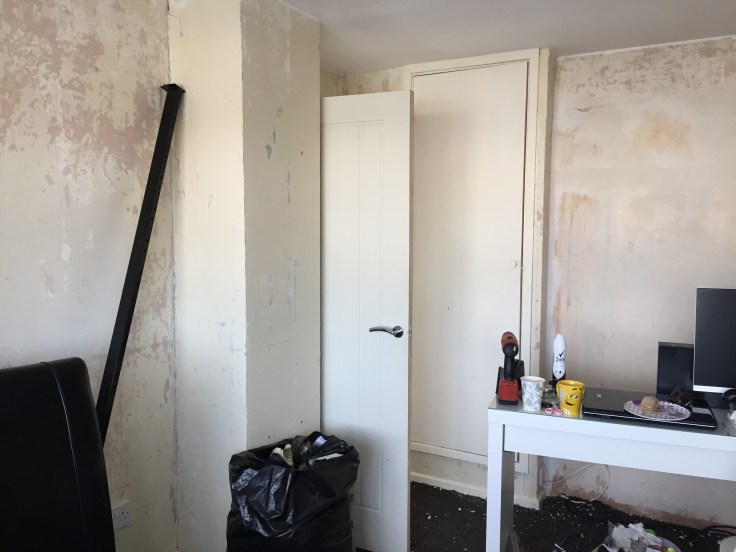
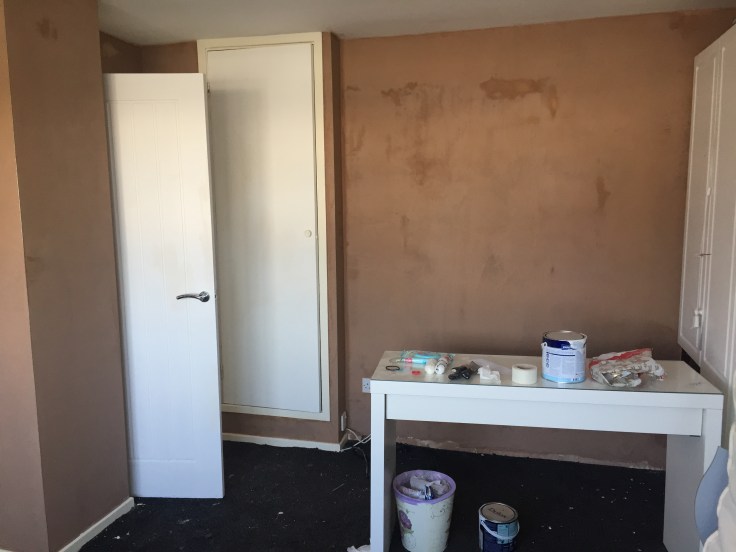
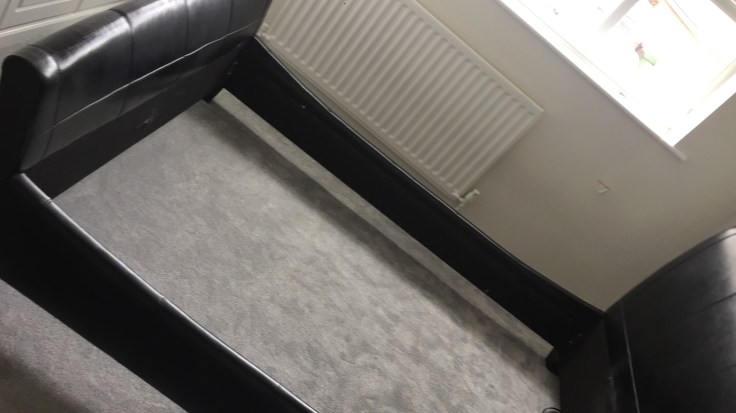
This was the original room….

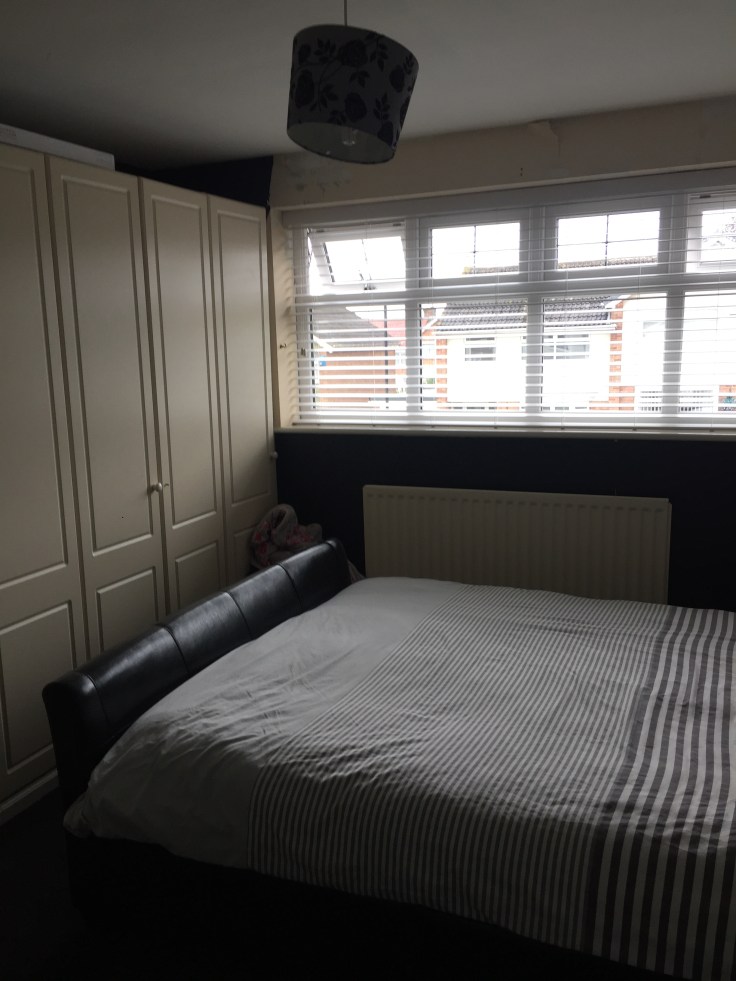
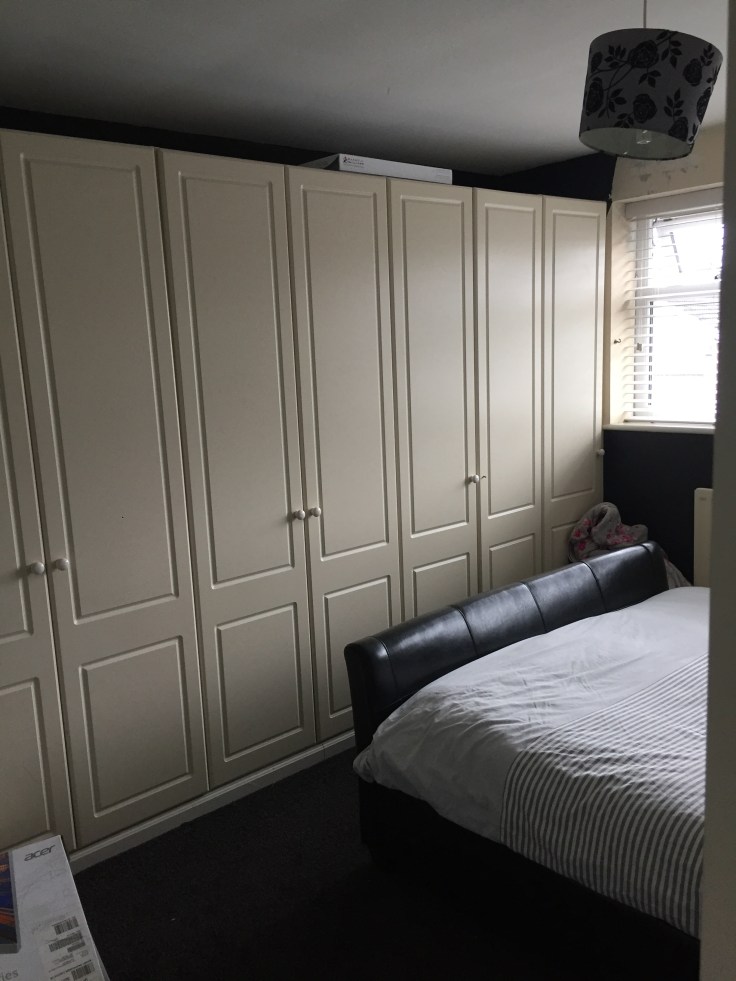
These photos were taken after we had the windows replaced and the new blinds fitted. But that old wallpaper, dark carpets and yellow gloss still remained.

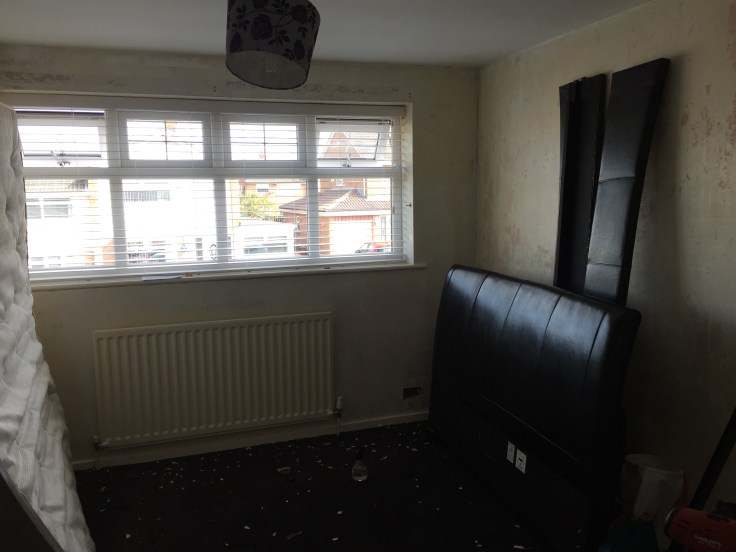
First job was to strip off all the wallpaper…. I had to work quick as I needed the plasterer to come the next day and make a start so it would have time to dry and I could paint it before he got home in a weeks time.
I took great joy in removing all this paper…. What a rotten job though!
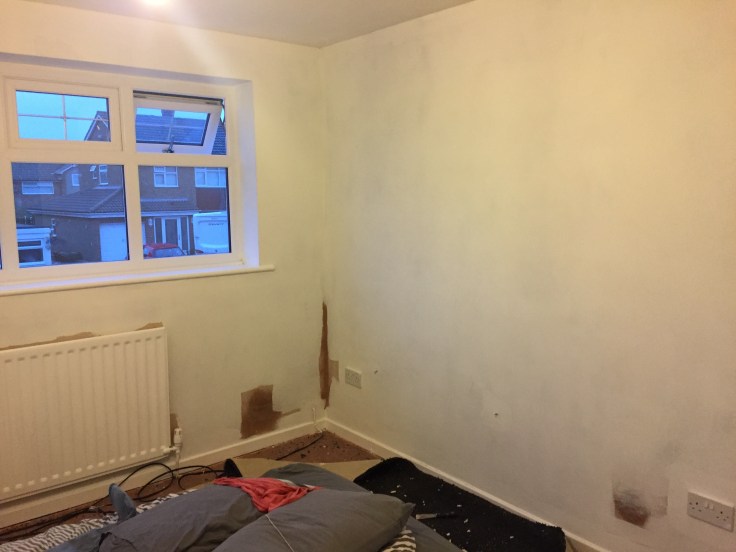
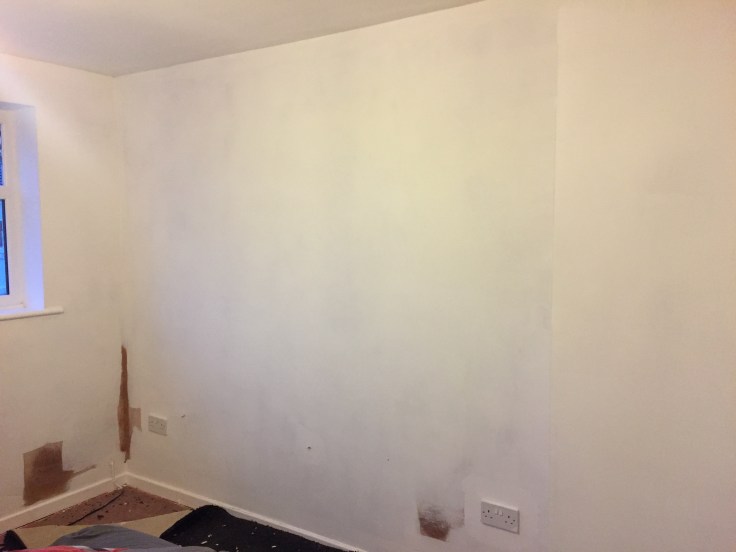
Next day the plasterer came and made a start on the walls, there were holes in the wall from the re wire and it was just a mess under where the paper had been, so it was the only option for a fresh start.
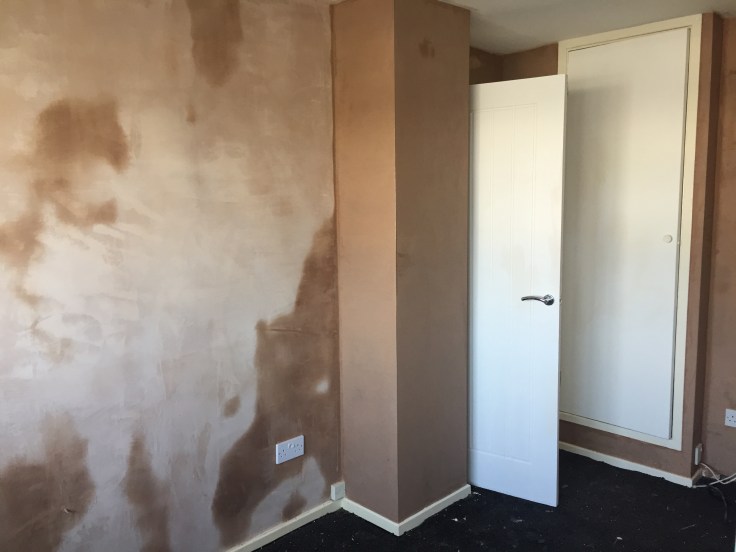

Next job was to tackle the woodwork, you can see how yellow the skirting boards and door frames are against the new door we’d had put it!
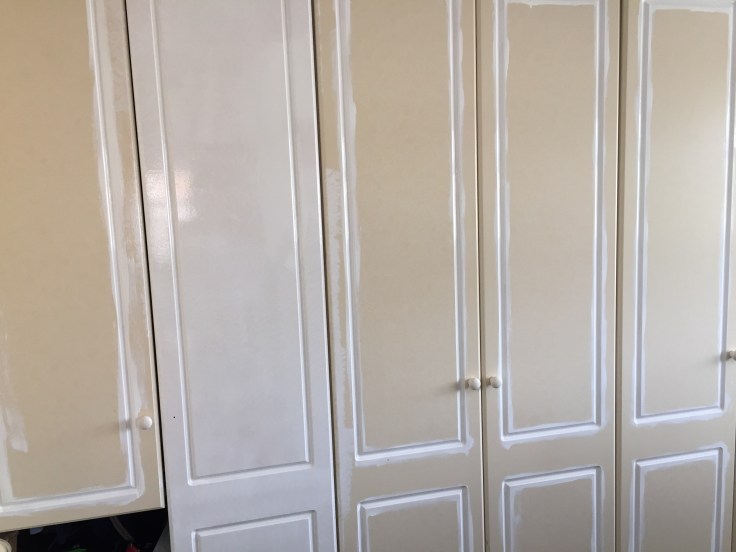
With the wardrobes, I didn’t have time to replace them or the budget so I simply painted them all and replaced the door handles…. Quick fix until we can replace them but what a difference it made! Look how yellow they were…….
Once the plaster was dry it was time to paint. I gave it a full emulsion coat before putting on the paint. I used the same colours I had used downstairs as I had enough left and time was against me. I had originally wanted to wallpaper the wall but now I probably wouldn’t bother.
I used Valspar paint – Rocky Mountain Mist & Coconut Juice.


I had worked everything out to the day and If one thing didn’t go to plan then the room wouldn’t be finished in time. The carpet fitters were due in the day before he got home and I was terrified they wouldn’t turn up! Thankfully they did ……
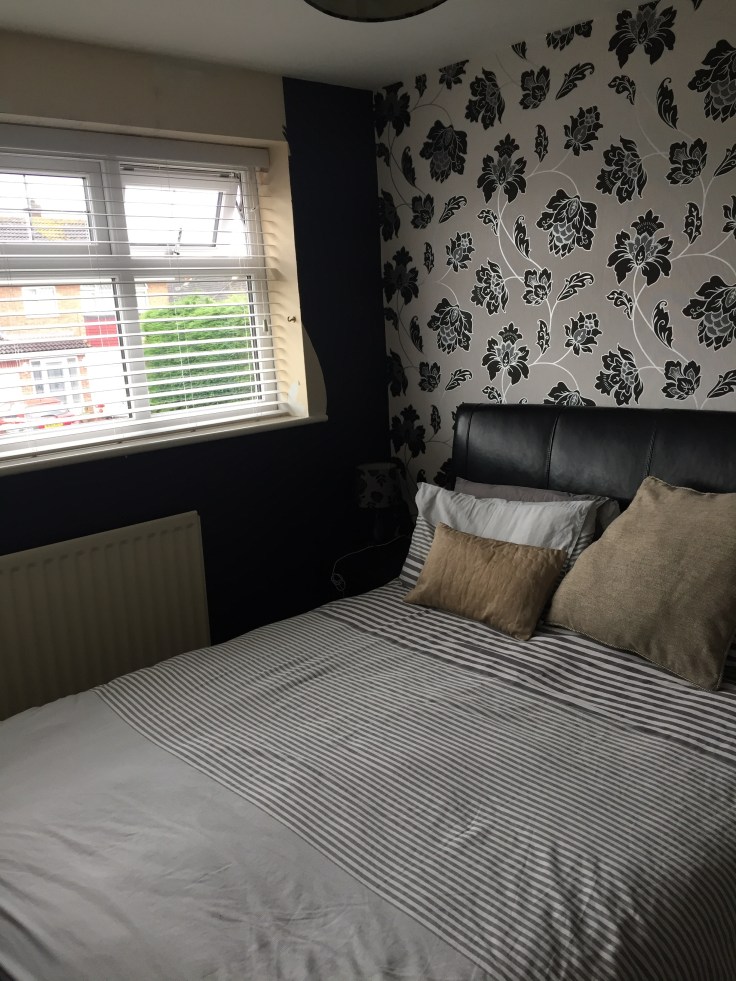
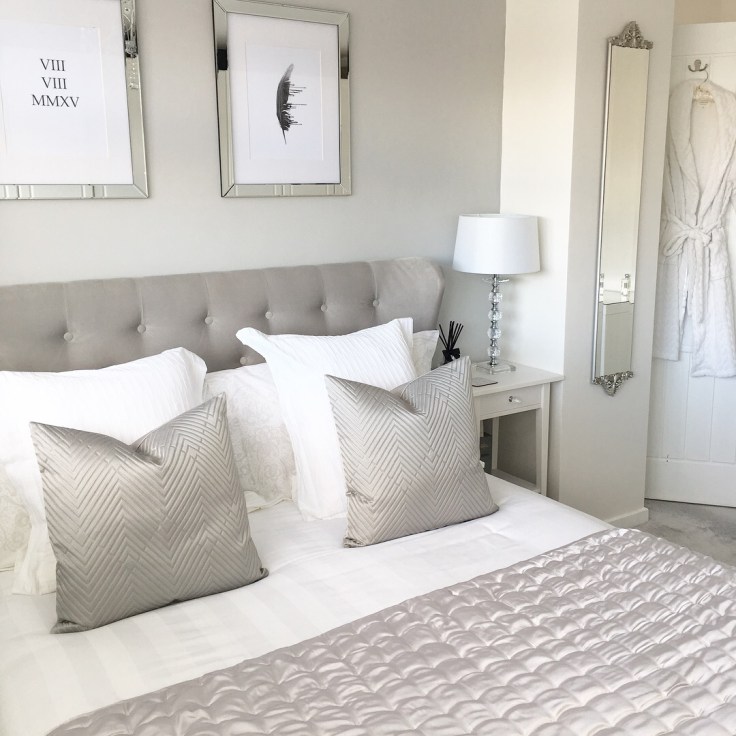
So here is the finished room, not fully accessorised yet but it was completely transformed and ready to show off ! My husband was completely shocked and couldn’t believe what I had achieved in just a week.
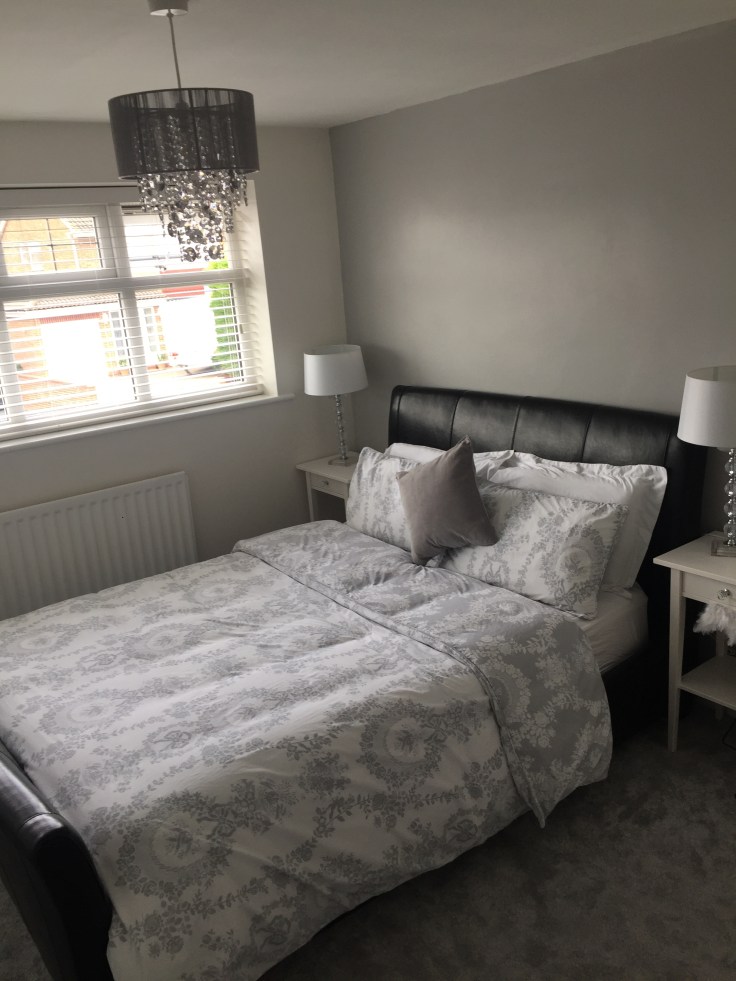
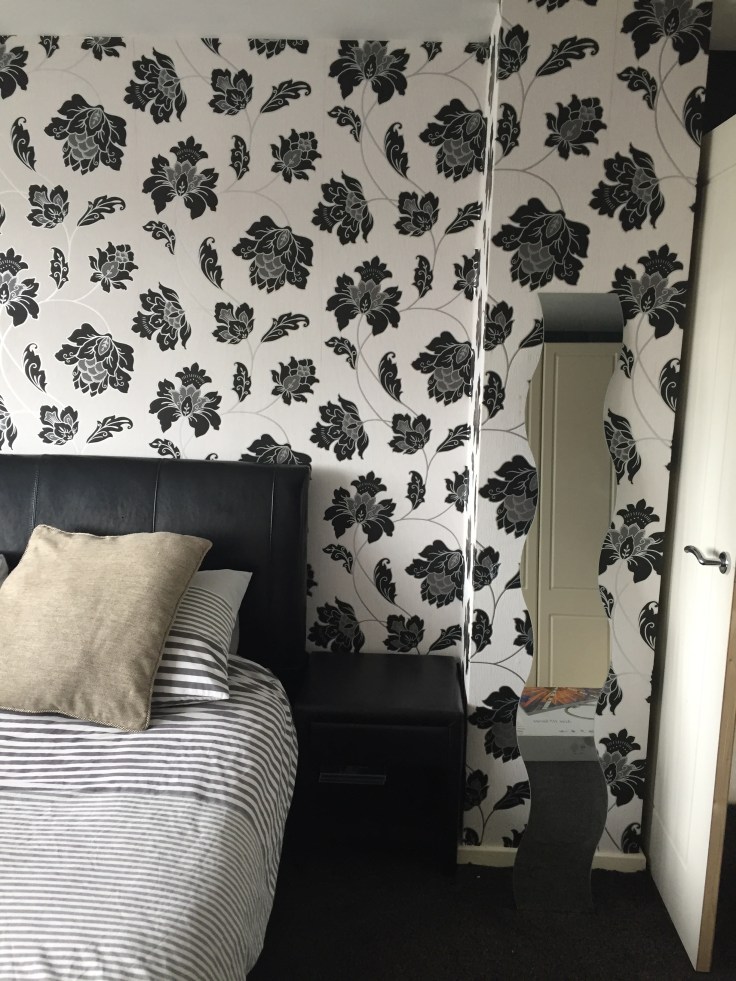
Finally added a few more accessories and the room was complete !
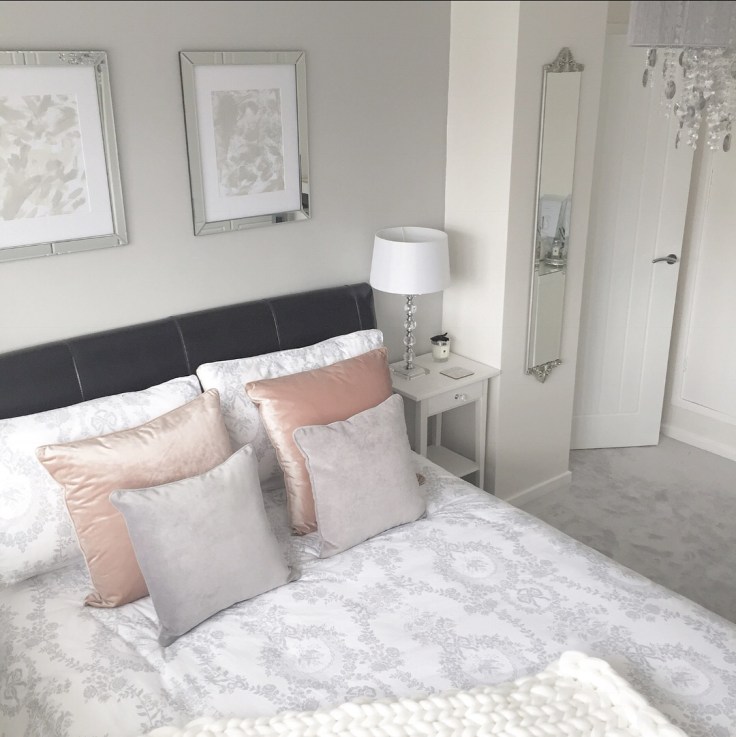
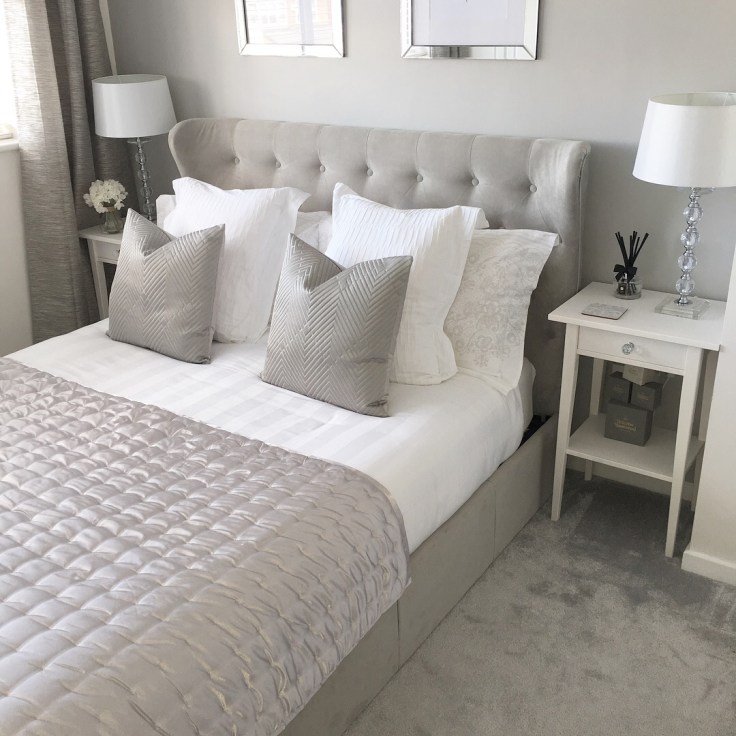
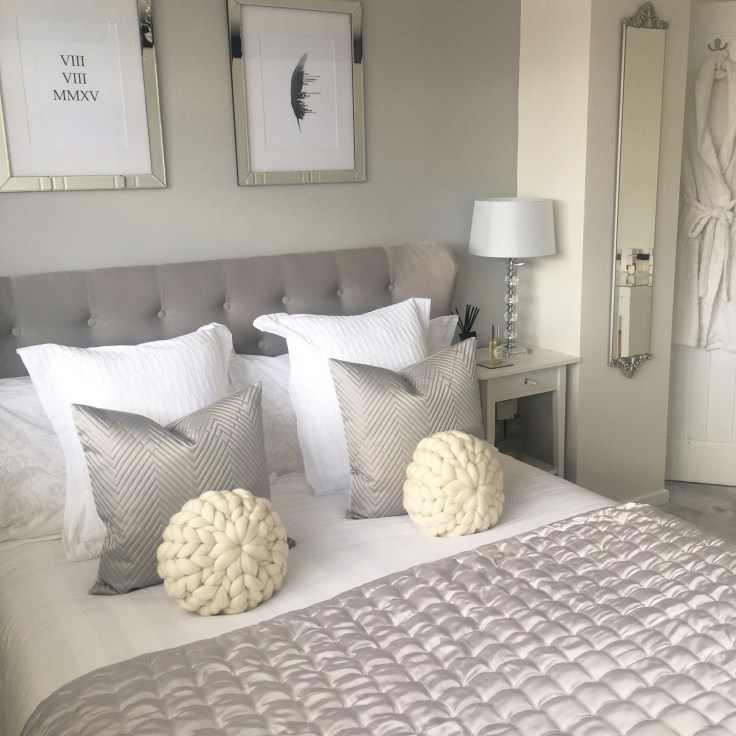
Since then though I have changed the prints in the frames above the bed, changed the bed and bedding, cushions and also added a new chandelier light…..
This is the room as it is today…..
My Beautiful light is from LiteCraft – Link HERE
My Bed is from Arista Living – Link HERE
Frames are from Dunelm – Unfortunately not available on the website.
Prints are from Thanksandmore – Link HERE
Bedside tables – Ikea – Link HERE
Blinds – Blinds to go – Link HERE
Curtain – Ebay – Link HERE
Lamps – The Range
Bedding – TK Maxx
Cushions – Matalan
Small Mirror – Dunelm

A beautiful bedroom.
Its a huge difference between the old and the new one.
Good work.
Bye 🙂
https://sweetazaleea.wordpress.com/2018/04/17/mahmya-island/
LikeLike